Intro. to Design - 4th Hour
Please click on the the words Intro to Design to download the syllabus for this class.
Week 38: 6/3- 6/7
Monday - June 3rd:
Start by finishing your tattoo projects before moving on.
You & Your Younger Self Project - Last Project of the year!
Your task is simple, use a current picture of yourself, and a younger you, and create a fun portrait. Use simple backgrounds, and find images that will work well together. Focusing on layering, and attention to detail to make these look at real as possible. See the examples below. Your goal is to make it look like a real picture!
1. Create 3 portraits of yourself. (You must use 6 different pictures of yourself and have a simple background for each)
2. Check the Photoshop rubric and make sure you meet the expectations.
3. Email me your final images.

|

|

|
| photoshop_assignment_rubric_22__1___1_.docx |
Week 37: 5/27- 5/31
Thursday - May 30th:
Finish your Travel Posters before moving on.
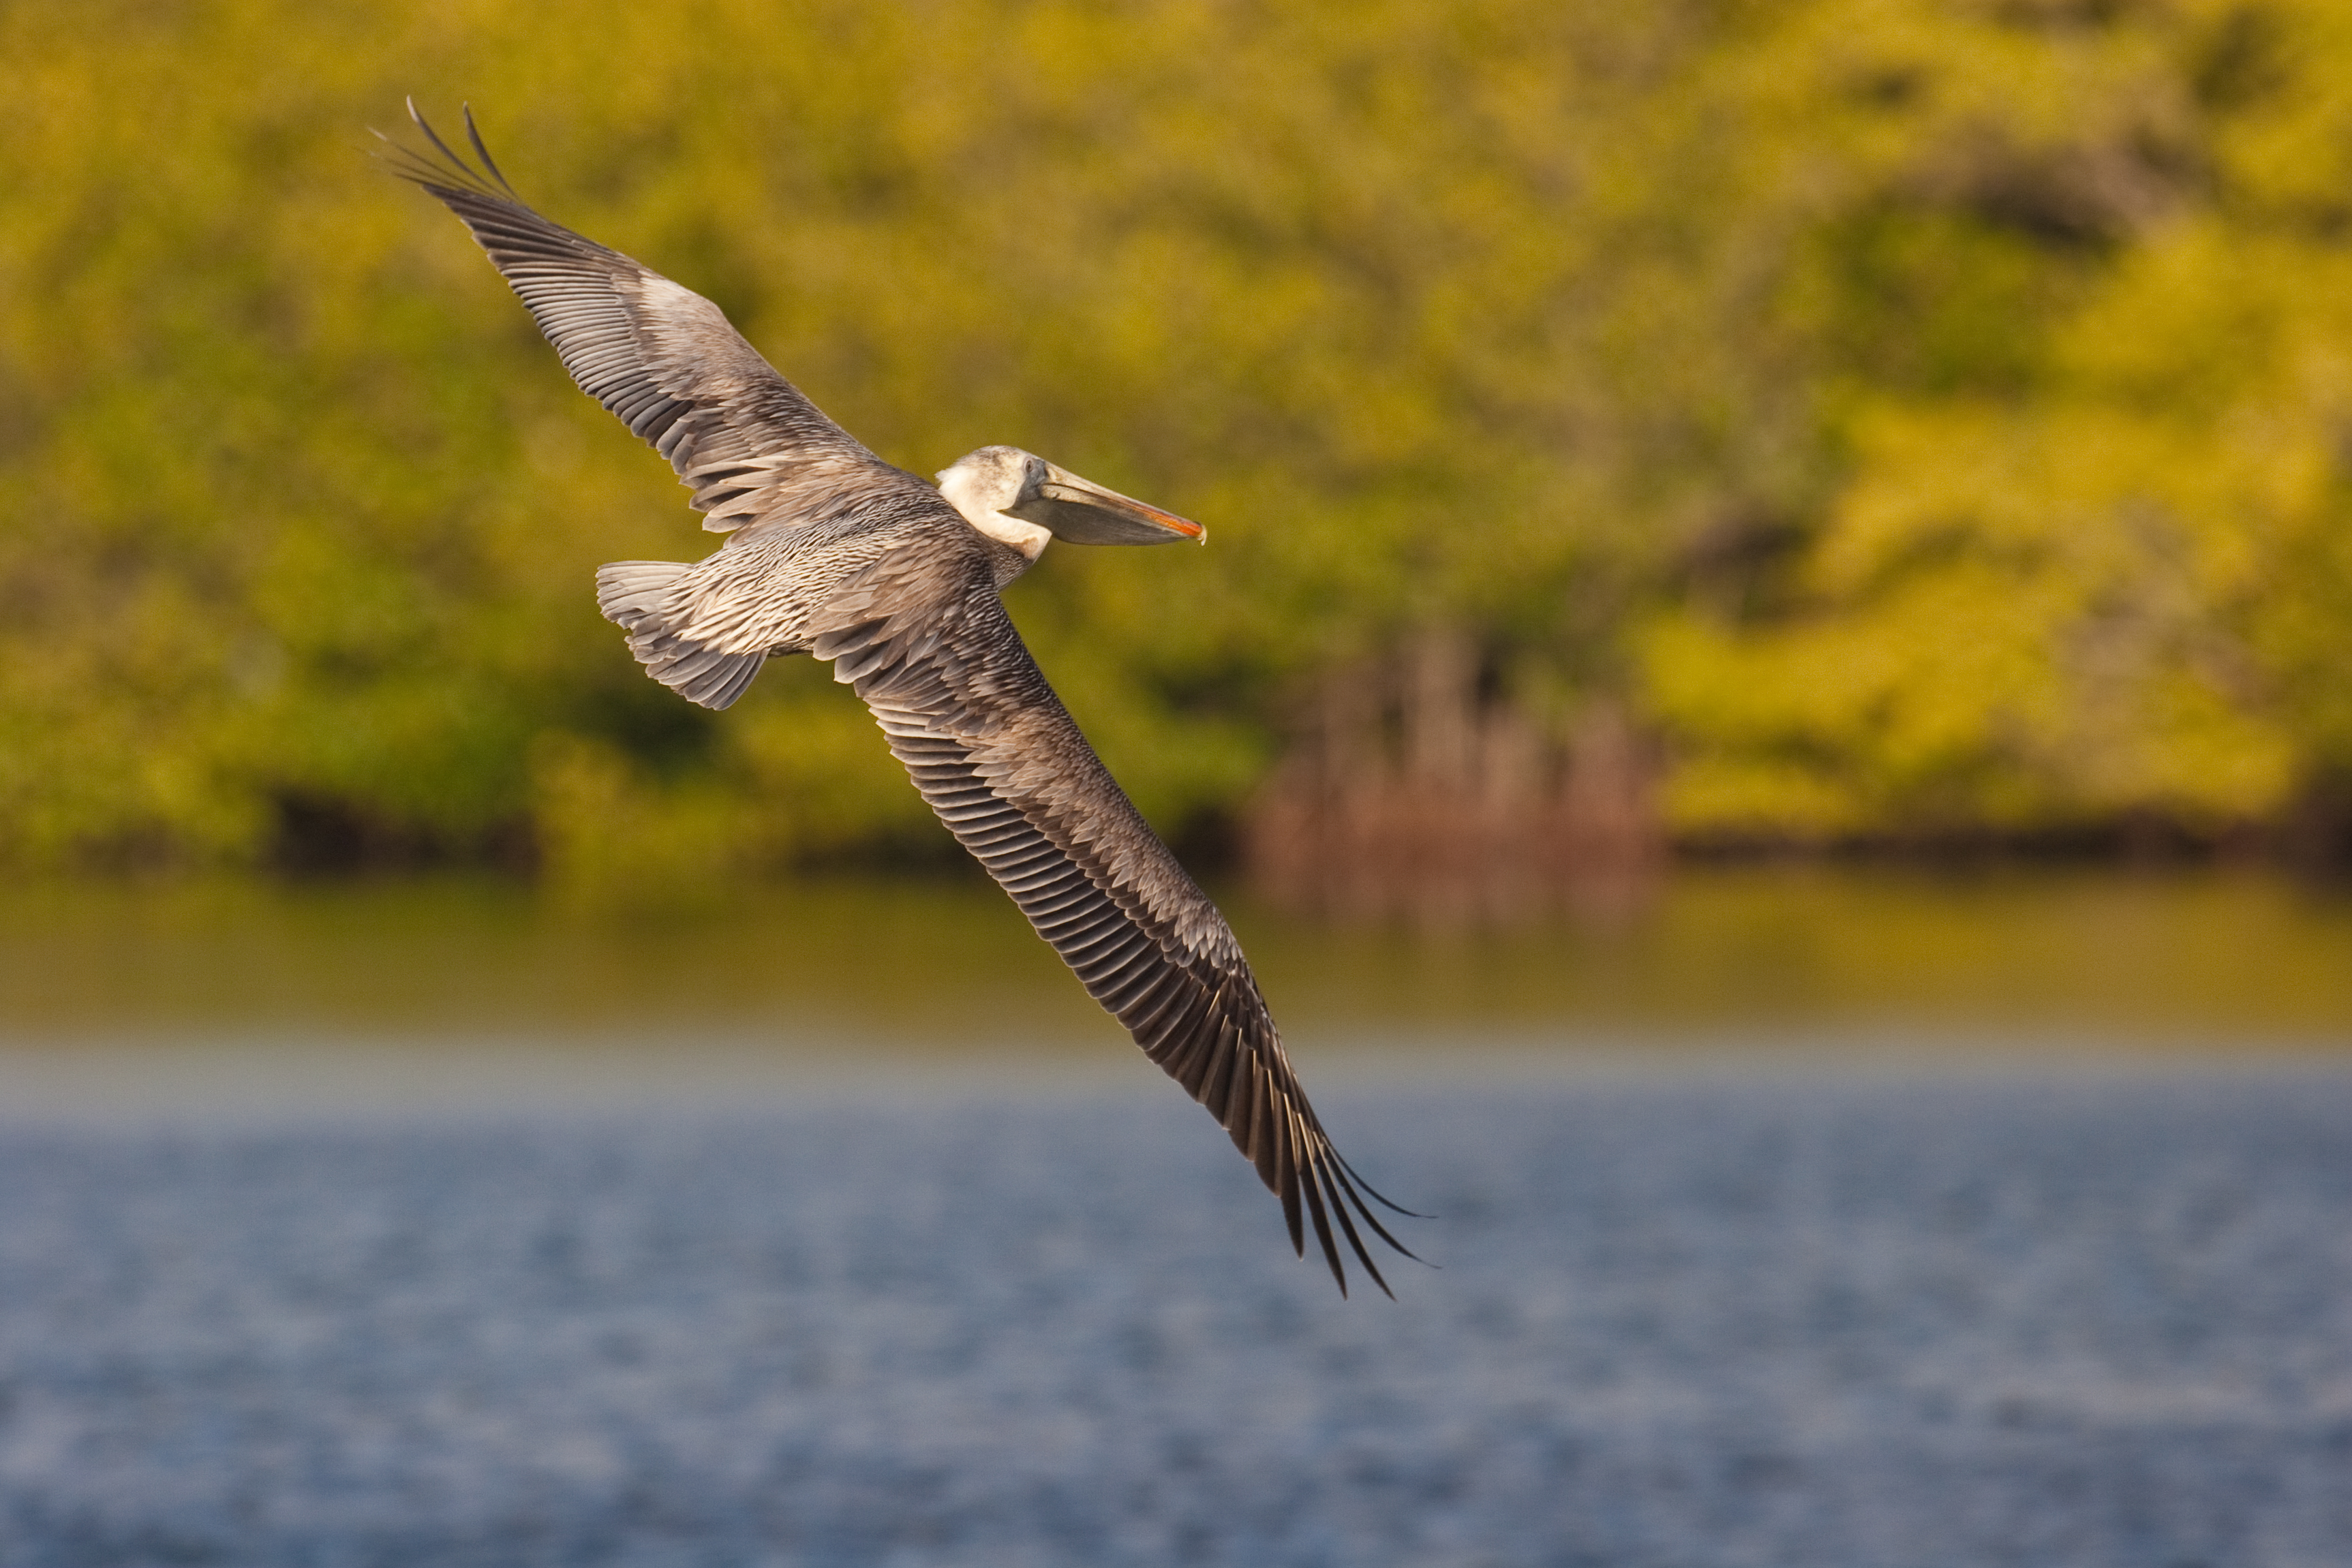
Today you will create a realistic tattoo out of any design in Photoshop.
1. Using Photoshop, follow along with the video, using the files below. (you will need headphones)
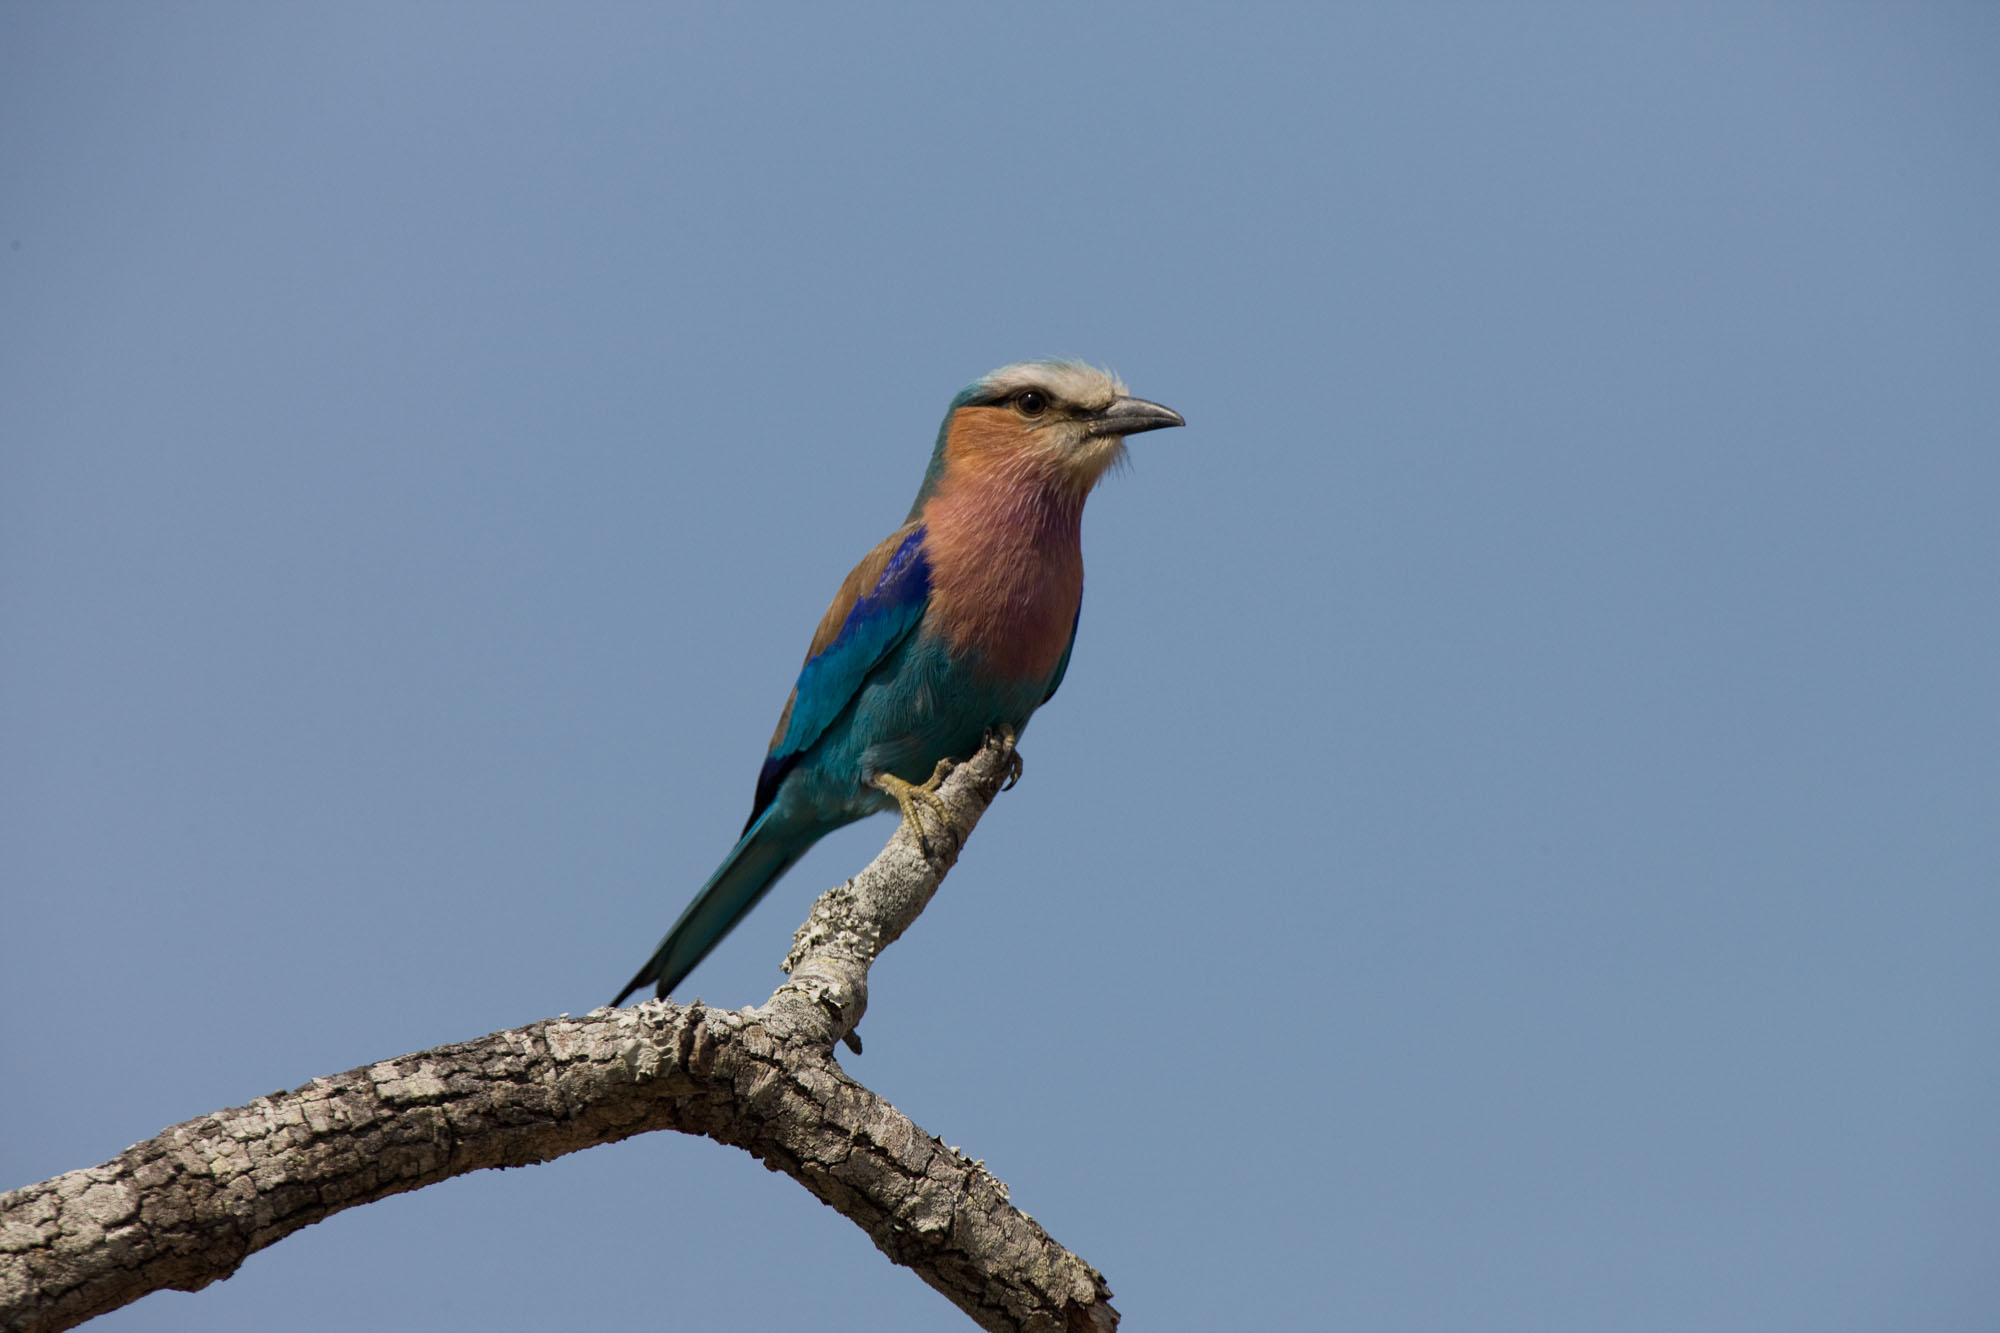
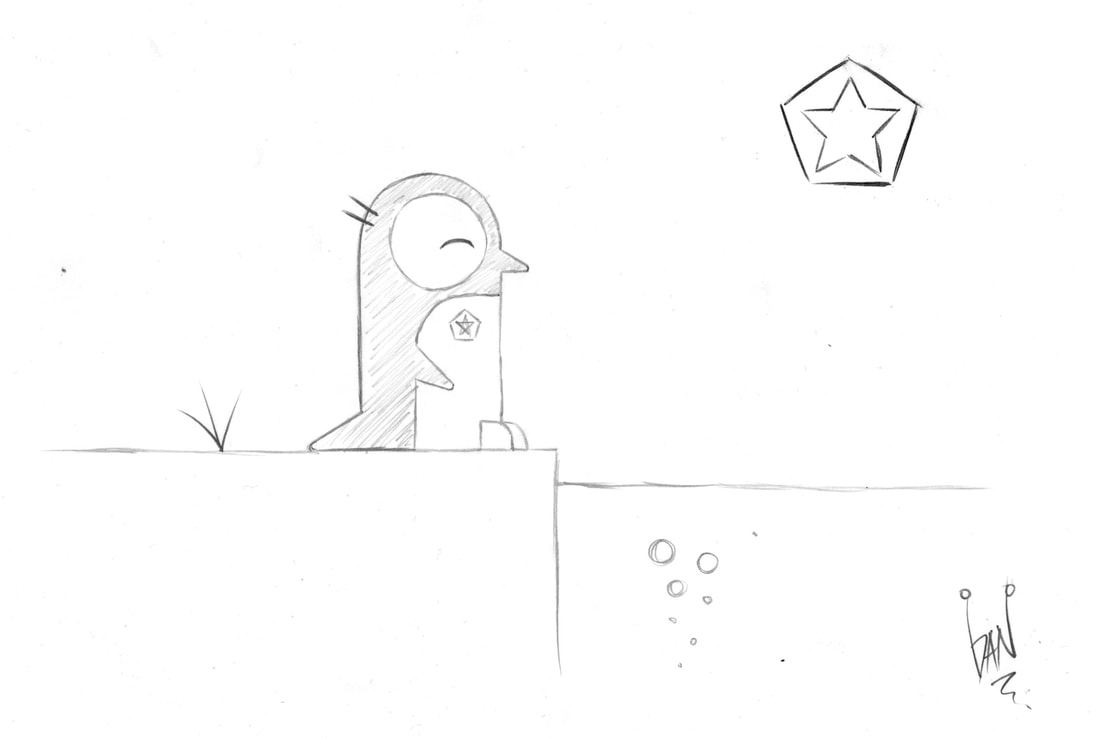
2. First follow along, using the files below, and create the bird tattoo.
3. Second, create a personal tattoo in either Photoshop or Illustrator, creating any design you like, using the same technique as before. Using the same image of the women's shoulder as your canvas. Have fun!
4. Lastly, email me both files when done.
Finish your Travel Posters before moving on.
Today you will create a realistic tattoo out of any design in Photoshop.
1. Using Photoshop, follow along with the video, using the files below. (you will need headphones)
2. First follow along, using the files below, and create the bird tattoo.
3. Second, create a personal tattoo in either Photoshop or Illustrator, creating any design you like, using the same technique as before. Using the same image of the women's shoulder as your canvas. Have fun!
4. Lastly, email me both files when done.
|
| ||||
Week 36: 5/20- 5/24
Monday - May 20th:
Travel Poster Project
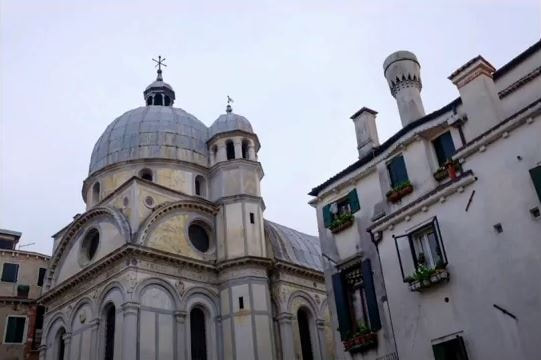
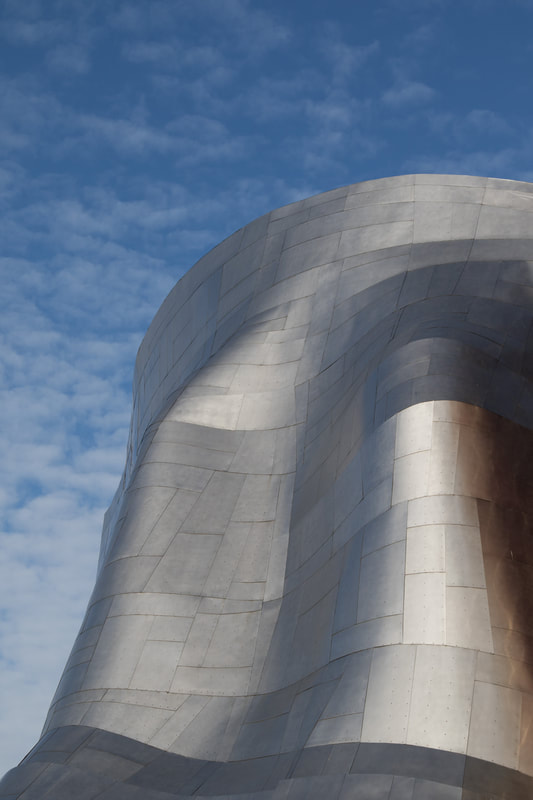
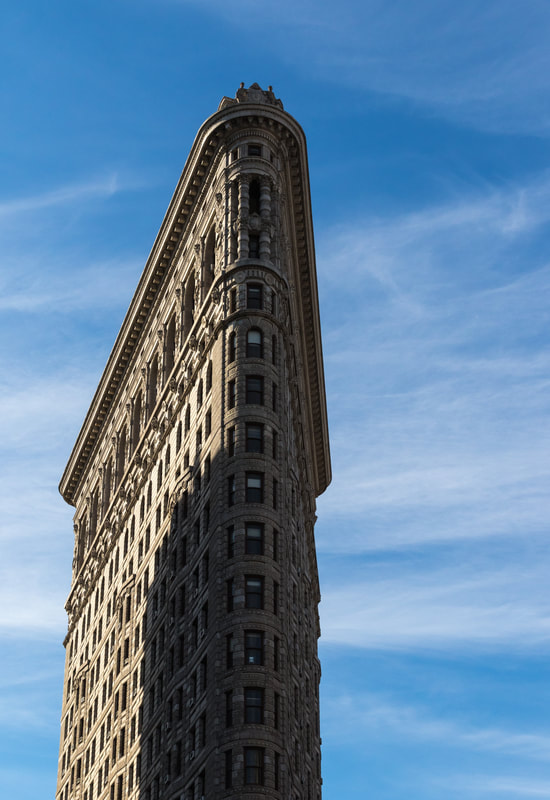
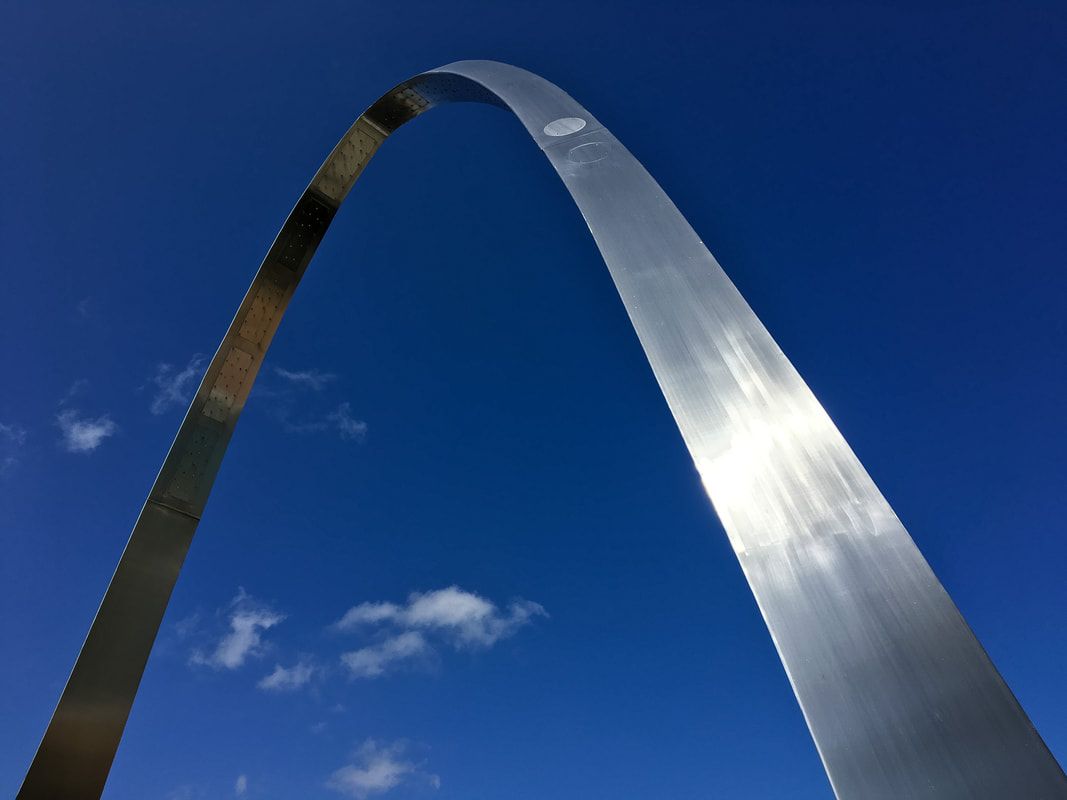
Objective: Create a Travel Poster for any destination. Research a Country / location of interest and Illustrate a known symbol or Landmark. Combine Text with Illustration. Use appropriate font faces and applications of color that reflects the region being advertised. Research and develop a campaign slogan. You will need to design 2 posters. This will mean 8 sketches for each design AND a research form for each design.
Directions:
Directions:
- Research a Global Location.
- Determine a known landmark for Illustration.
- Develop an advertising campaign slogan.
- Create thumbnail sketches prior to working with Illustrator. (minimum of 8)
- Determine color pallets that are common to the area being advertised.
- Determine font faces that are appropriate for poster subject matter.
- Combine content generated from research steps into a Travel poster.
- Evidence of Research. (See Research Handout) You will need 2 of these.
- Minimum of 8 thumbnail sketches per poster. (Hand sketched, NOT digital sketches)
- Illustration of known landmark or symbol on EACH poster. (This means you need to draw it)
- Use of colors that represent the are of interest such as state or national flag colors.
- Use of appropriate fonts that reflects the area being advertised.
- Incorporating a known travel slogan or development of a new travel slogan.
- You will be creating 2 of these posters.
Week 35: 5/13- 5/17
Thursday - May 16th:
Objective:
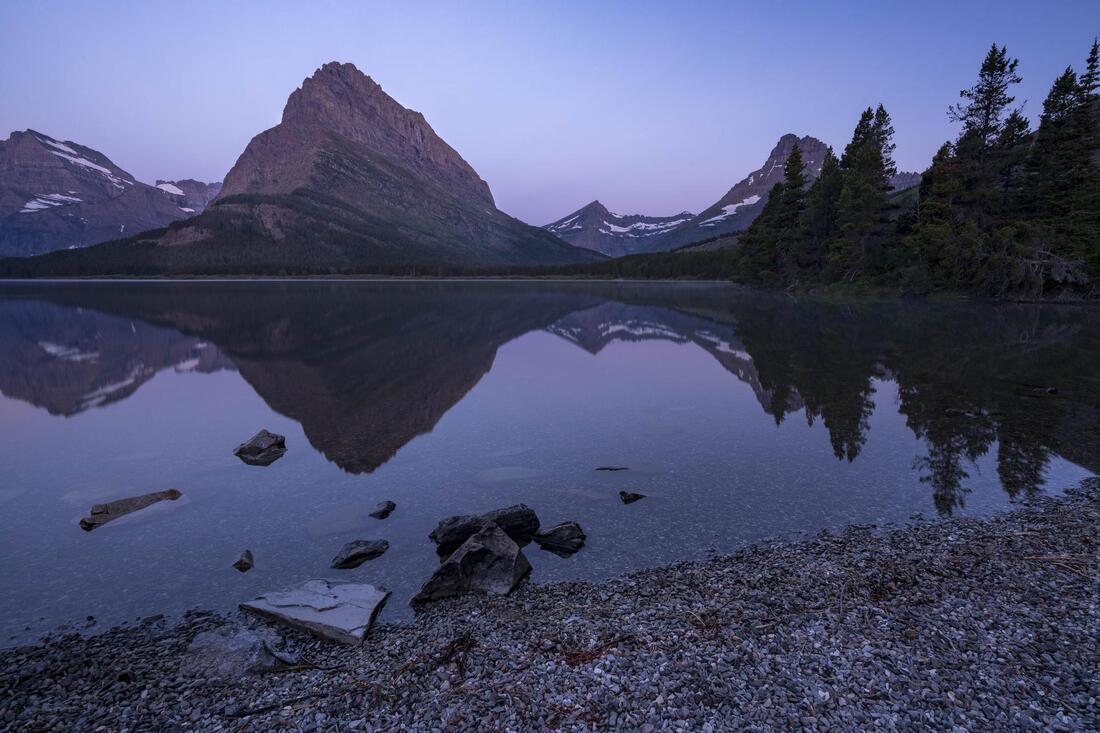
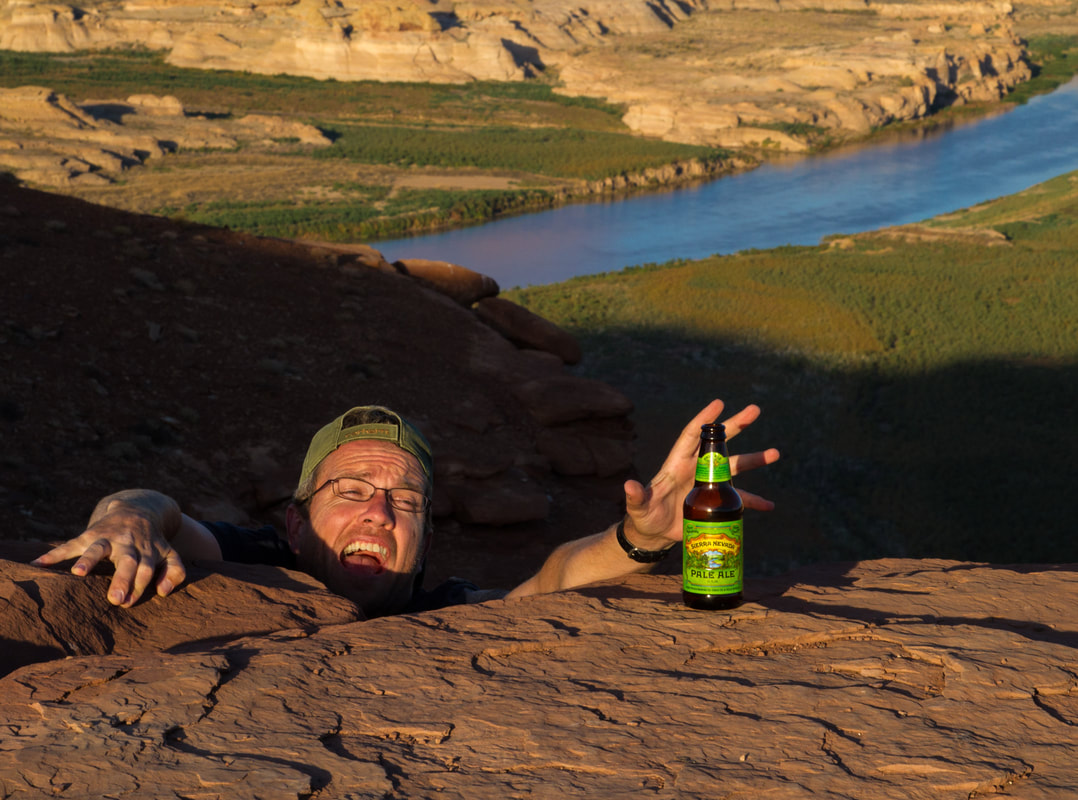
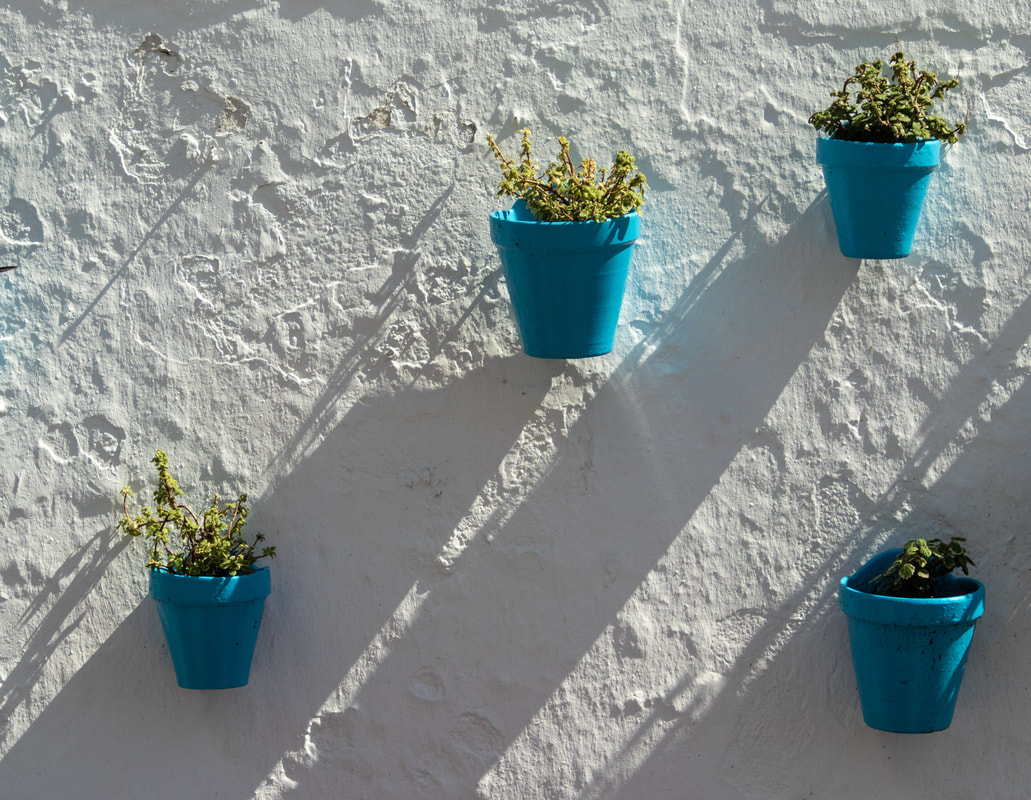
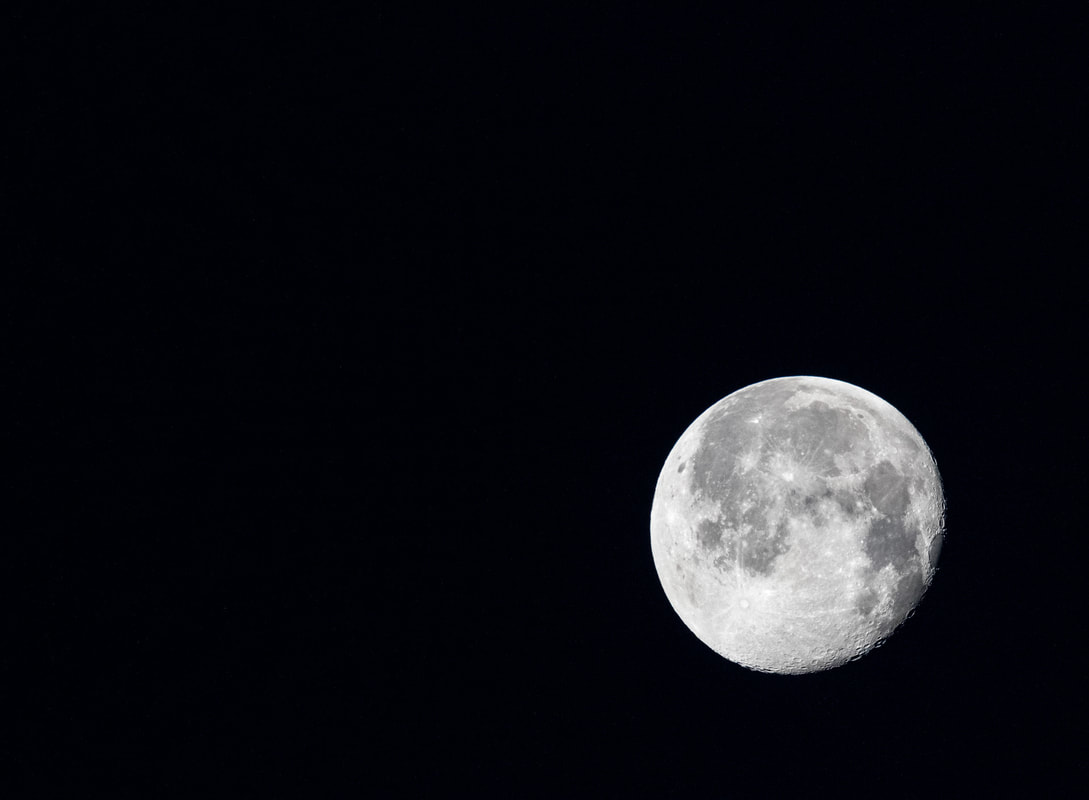
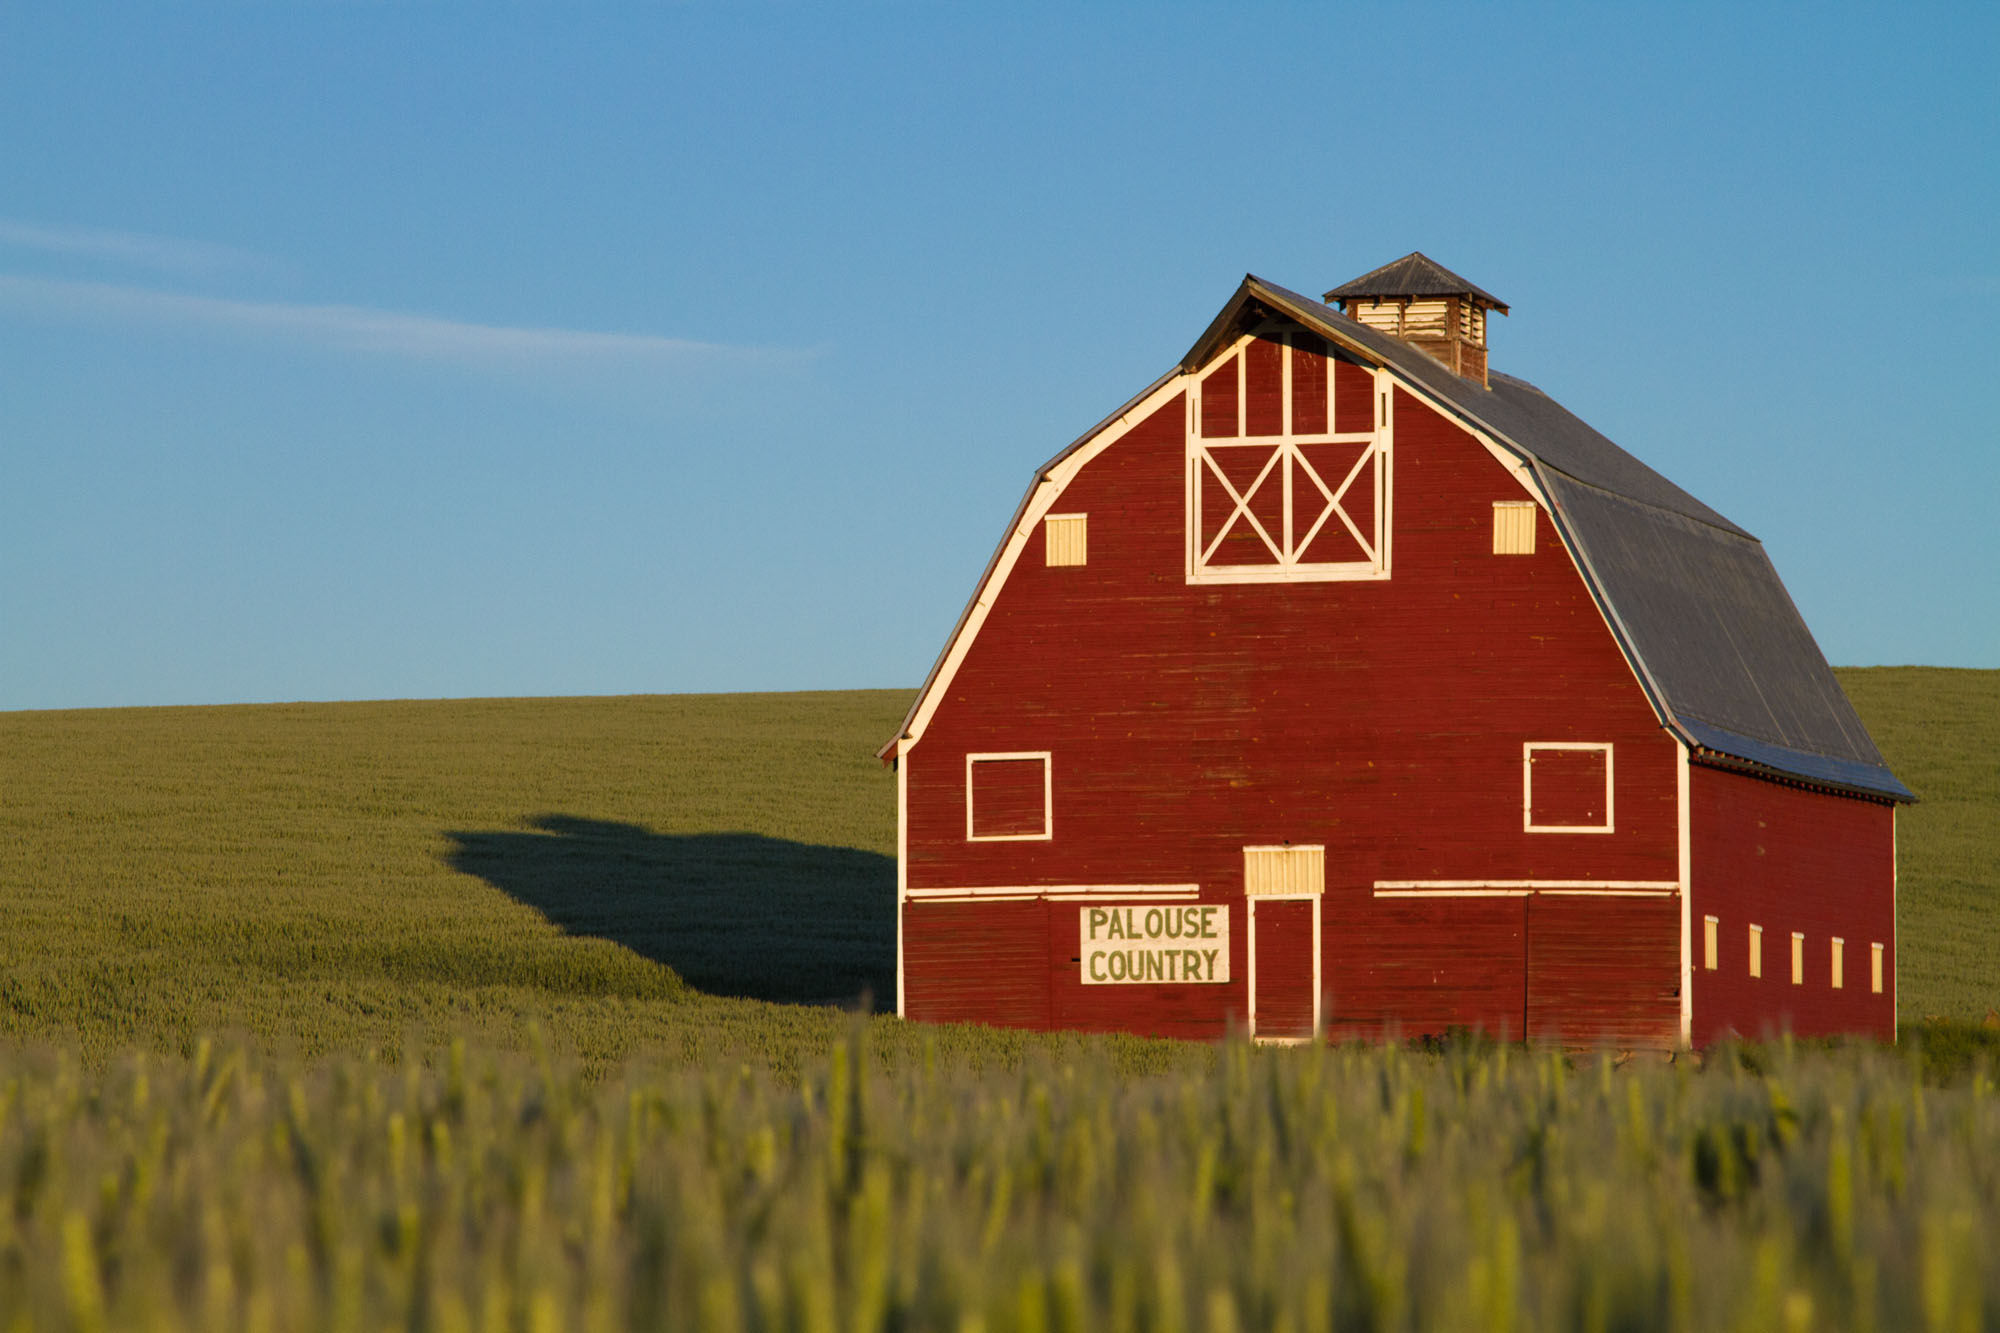
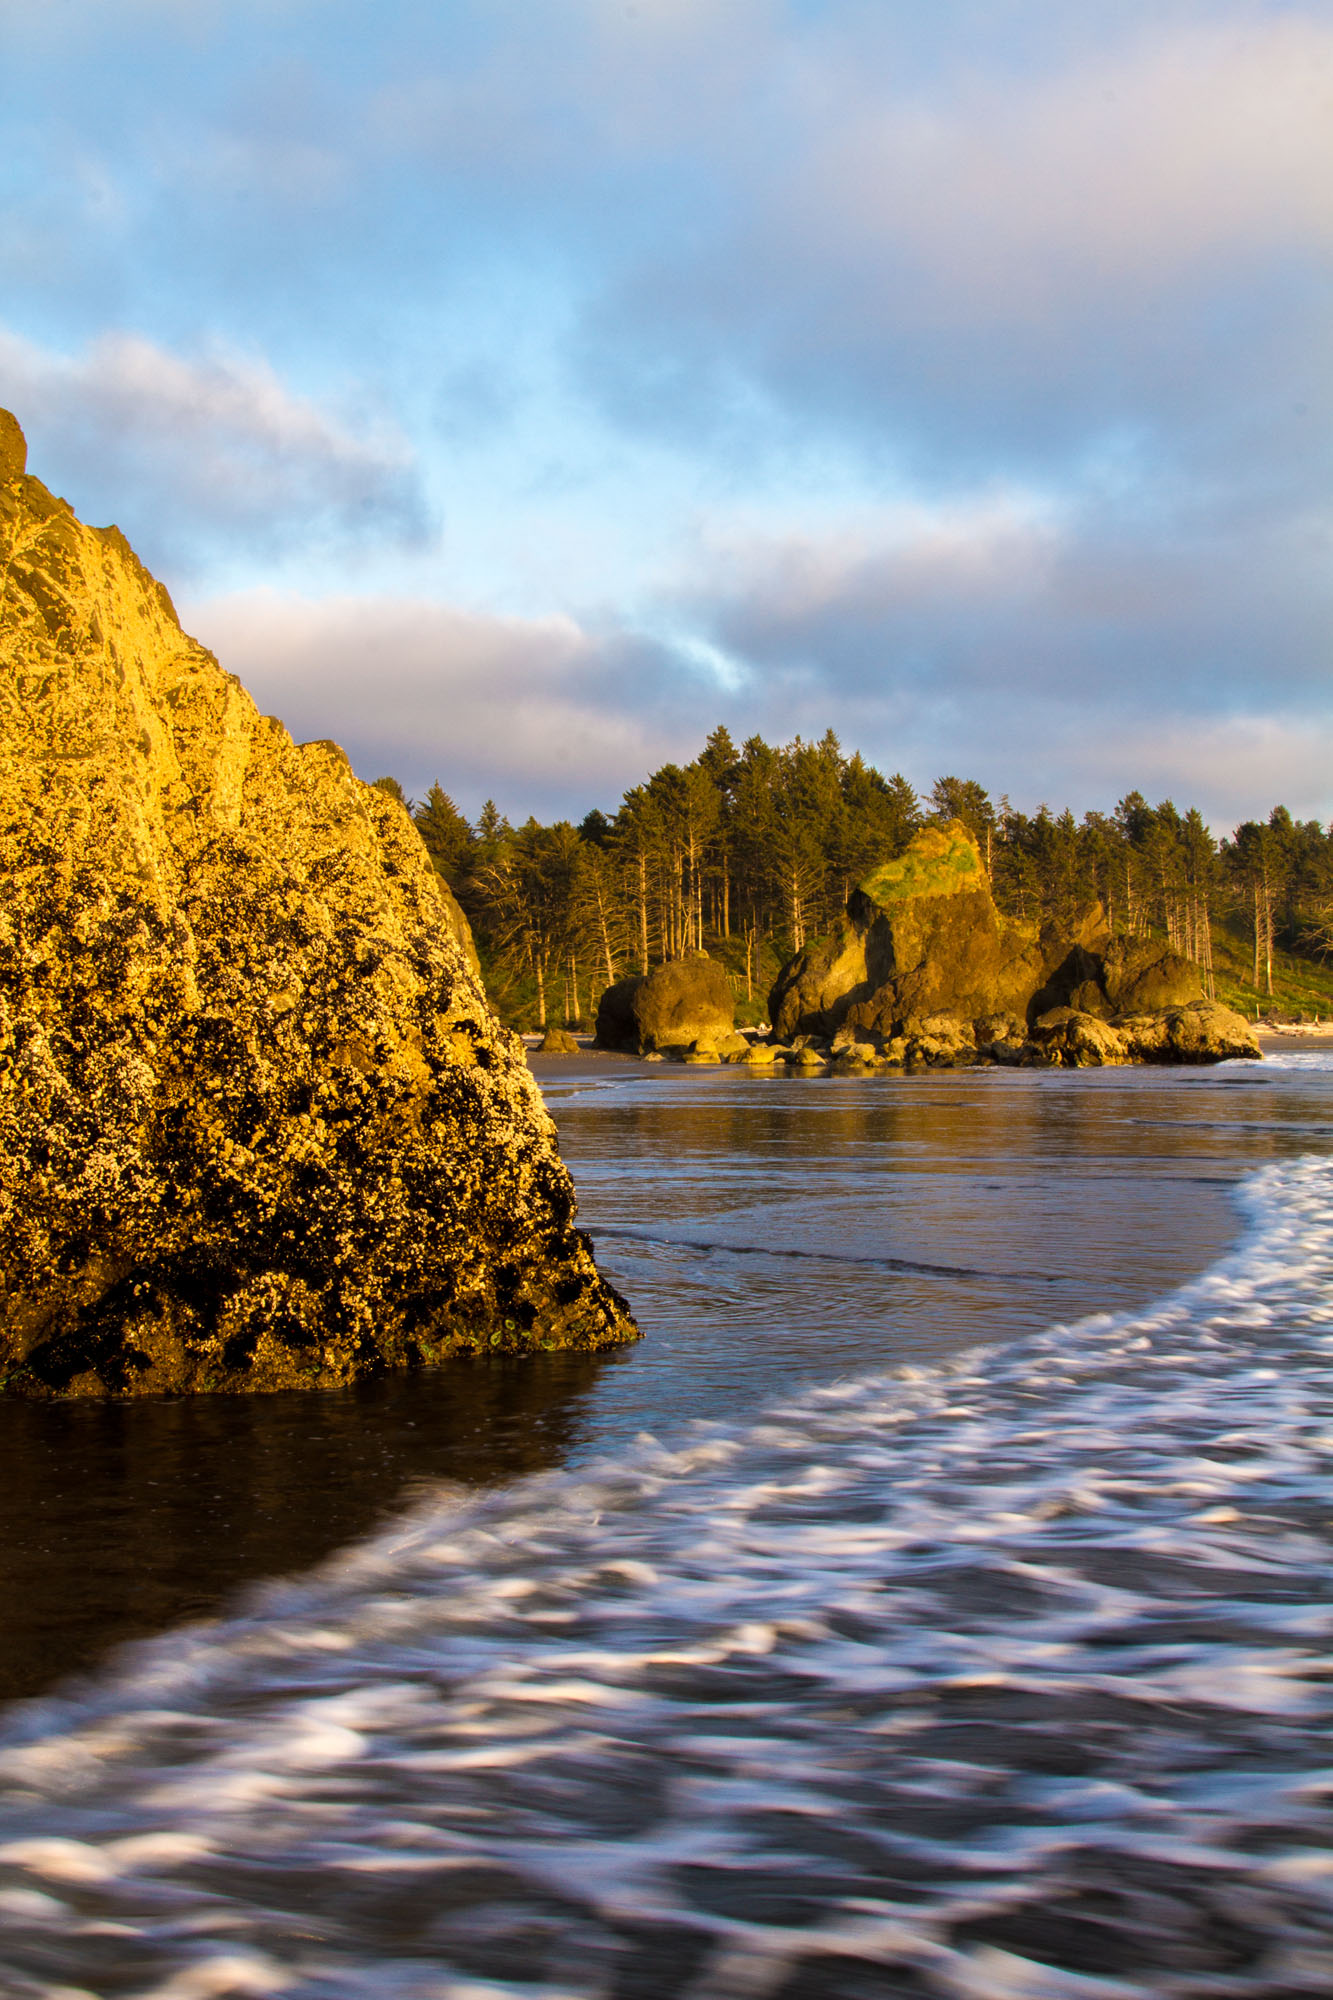
Use what you have learned in Photoshop, do your best to recreate the image below. Email me your image when complete.
Use what you have learned in Photoshop, do your best to recreate the image below. Email me your image when complete.

Week 34: 5/6- 5/10
Friday - May 10th: (Finish your Polygonal Animal Project before moving on.)
Magazine Cover Project
We have done a lot of projects in Photoshop and learned a great deal of skills. Now it is time to apply all this new found knowledge and skills to an original design of your own. In this project, you will apply the Elements and Principles of Design to create an original, well designed magazine cover.
You will need to create a magazine of your very own! Open a new document in Photoshop, the dimensions will need to be 9 inches by 12 inches at 300 DPI/Resolution. You will be creating a logo/title for your magazine to go across the top. You will need to add a large cover image and a minimum of 2 smaller images on the cover. The large image should connect or interfere with your magazine heading in some way. These could be celebrities, products, places, etc...Make sure that all the images you use are masked cleanly and flow together. Then you will need to add your various articles and headlines to your magazine cover. You will need a minimum of 5 articles.
Use various appropriated fonts that work together with your design. Pay extra attention to the principles and elements of design (color, line, shape, textures, contrast, balance, unity, emphasis, and proportion!!) Focus on the layout of all of your elements together to create a good looking, clean designs.
Don't forget to add the month & year and a bar-code Make your cover looks as real as possible! You might want to do a little on research magazine covers.
Use the document below as a guide.
As you work, save your project as a .psd and name it Your Name + Magazine Cover.
| what_makes_a_magazine_cover.pdf |
Tuesday - May 7th: (Finish your Mashup Challenge before moving on.)
Polygonal Animal Project
Objective:
Use Illustrator's tools, menus, and palettes to create a complex vector image with polygonal shapes.
Assignment:
You have been hired as a graphic designer by The North Carolina Zoo. They want you to create a colorful graphic animal theme. You are to follow the directions given by the project manager for the target audience to complete the project. Once complete then you should review the checklist for grading criteria before turning in your work.
Create a Colorful Polygonal Animal by selecting an image of animal online and then using polygonal shapes and triangles to design a colorful animal shape recreation Challenge yourself to include gradients, feathering, or transparency.
You will be graded on a difficulty rating based on your illustrator or photoshop technique and attention to detail as well as your creativity. See the examples for ideas. Your image size is 800 width and 600 height.
Save your completed graphic as an Illustrator or Photoshop file. Email your final project to Mr. Philip.
Grading Criteria Checklist:
1 - Polygonal animal designed with a creative theme
2 - Design incorporates various shapes
3 - Design incorporates gradients or transparency
4 - Design incorporates bright decorative color scheme
5 - Animal created is easy to depict
6 - Graphic designed in a manner that is visually pleasing, balanced, and creates an interest in the topic
7 - Colorful scheme utilized fits with the target audience
8 - Images size is 800 x 600 pixels
9 - Graphic file is saved as an Illustrator or Photoshop file.
10 - Final graphic file is emailed to me.
Week 33: 4/29- 5/3
Tuesday - April 30th: (Finish your Hybrid Animals before moving on.)
Mashup Challenge Assignment:
How do you take 2 different pictures and make them into a mash up that is completely integrated together? Select a minimum of 2 photographs that you think could be put together in a way that makes a new thing. Make sure you can't tell where the mash ups occur. BE CREATIVE!! You will need to make at least 8 Mash Ups for this assignment. Make sure you don't use any of the ideas you see here. Instead BE CREATIVE!! This is a test of both your photoshop abilities and your creative skills. When I look at this, I should not be able to tell where the images were combined. You will need to find your own high quality images.
Week 32: 4/22- 4/26
Monday - April 22nd: (Finish your Literal Interpretations before moving on.)
Hybrid Animal Assignment
Create an Animal Hybrid of 8 Animals in Adobe Photoshop. Use blending techniques learned earlier in the class and place the newly created animal in its natural habitat/environment. You will need to create at least 8 different hybrid animals and email them to me. There are 2 tutorials below that will help you with this process. See examples above. You can not use the examples, your design must be original work.
Week 31: 4/15- 4/19
Tuesday - April 16th: (Finish your Pop Art before moving on.)
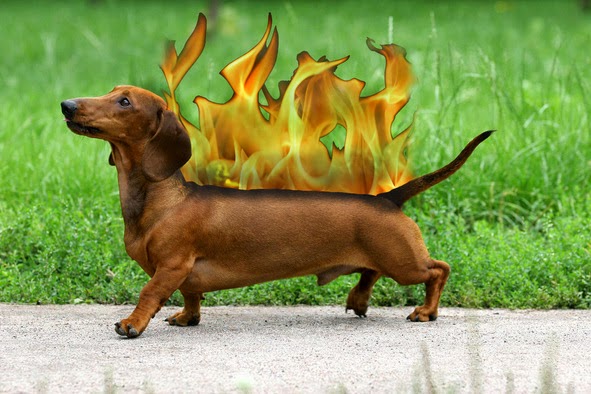
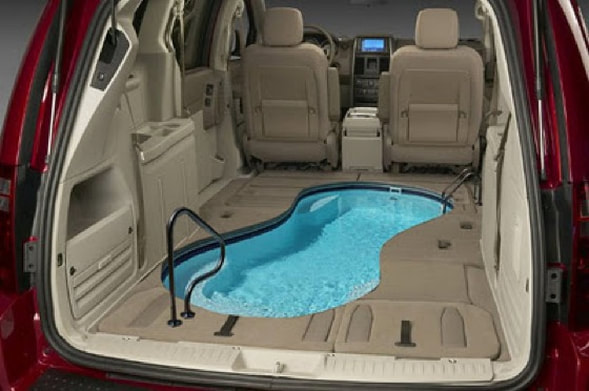
1. Using Photoshop, you will pick 8 compound words and create 8 images that depict the Literal Interpretation.
Example - What would a fly look like if it was on fire? (firefly) What would the moon look like if it was made of honey? (honeymoon) I have included some examples below.
2. Be creative and when you have finished all 8, print them in color. Don't tell us what your images are, let us guess.
3. Have some fun with this and as always remember to keep it clean and school appropriate. Also - you must create your own work. You may not duplicate examples discussed in class. You can do a hot dog, but it can't look anything like the example below.
***Don't tell me what words you choose. We will try to guess your compound words as a class.***
|
|
Week 30: 4/8- 4/12
Friday - April 12th:
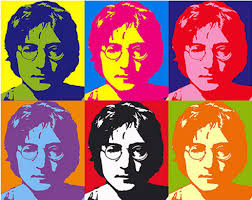
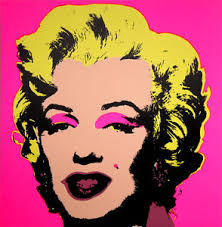
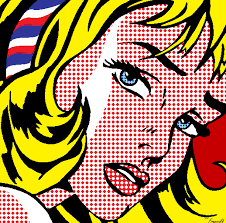
Today you will be learning about Pop Art and Andy Warhol. After watching the video as a class complete the following activities:
1. After watching the video, list 15-20 things you did not know about Andy Warhol.
2. List 15-20 things you did not know about Pop Art.
3. Create two pop art images using the tutorial below or use your own technique of pop art. You may use either Photoshop or Illustrator for this assignment.
4. Submit the following:
- 2 lists created from video
- 2 pop art images that you create
|
|
|
Pop Art Tutorial >>>
Monday - April 8th (Finish your movie parody posters first.)
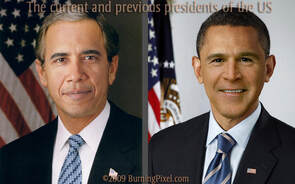
Your next project is the ever popular face swap.
Your next project is the ever popular face swap.
- Click on the button below to watch the video tutorial that will walk you through this fun process.
- Your assignment is to produce two high quality face swaps using photoshop. You can do as many face swaps as you want, but you are just turning in the two best.
- Be creative and have fun! This does not have to be famous people, it can be students, teachers, whomever you want.
|

|

|
Week 28: 3/18- 3/22
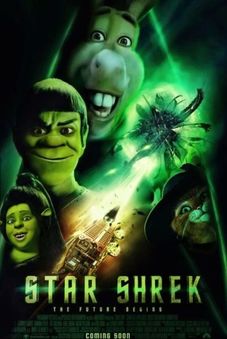
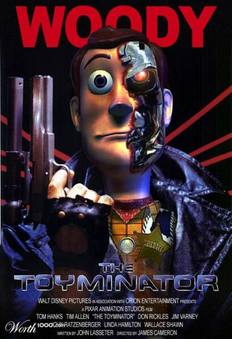
Thursday - March 21th: It's time to use what we've been learning the last couple of weeks. You're going to take any image from a movie (or advertisement for it) and make a parody out of it (i.e. Lady and the Trampoline, Willie Wonka and the Lye Factory, or Fatman Begins).
Assignment Expectations:
Assignment Expectations:
- Take any image from a movie and make a parody out of it. The sillier the better!
- Download the rubric documents below for the instructions for our Movie Parody assignment. I've also included some examples.
- You are required to submit two movie parody posters.
- Remember...These should look like real movie posters. You need the details and each of your posters should be unique. (including the fine print information)
| photoshop_assignment_rubric.docx |
|

|
|
Week 27: 3/11- 3/15
Thursday- March 14th:
Poster Day!!
This is meant to be fun and creative! We are going to test out our new printer with these designs, so keep a few things in mind:
I would like to put these in the hall to show off your great work. So keep that in mind.
Poster Day!!
This is meant to be fun and creative! We are going to test out our new printer with these designs, so keep a few things in mind:
- Your art board size needs to be 24 in. wide x 30 in. tall
- This must be your original design. Please don't copy and paste a Marvel poster and expect to print it. Your design can be whatever you want, you decide.
- When your design is complete make sure you email the file to me.
I would like to put these in the hall to show off your great work. So keep that in mind.
Wednesday- March 13th
Finish your Compositing Techniques lesson before moving on.
1. Maximum Control in Photoshop In this session, you will learn to make the most of the powerful tools in Photoshop for applying adjustments that only affect specific areas of a photo. Along the way you'll discover that advanced features in Photoshop don't have to be confusing or intimidating. You'll learn:
- The top techniques for creating great selections,
- How to use a flexible workflow for targeted adjustments
- And much more.
| |||
|
|
| ||||||
|
|
| ||||||
|
|
| ||||||
Tuesday - March 12rd
Finish your Restoring Memories lesson before moving on.
1. Compositing Techniques You Must Know Composites are more than just merging images together. To make a great composite, you need to consider light sources, shadows, color, and perspective. In this information-packed session you will learn how to make your composites look more realistic by taking advantage of little-known, yet powerful Photoshop masking and compositing techniques.
We'll focus on:
- How Match Perspective.
- How To Create the Illusion of Depth.
- How to Color Match.
| |||
|
|
| ||||||
Week 26: 3/4- 3/8
Thursday - March 7th
Finish your Advanced Photo Composition lesson before moving on.
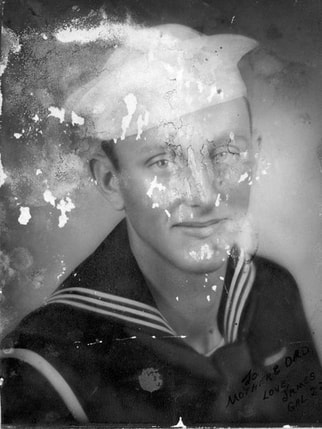
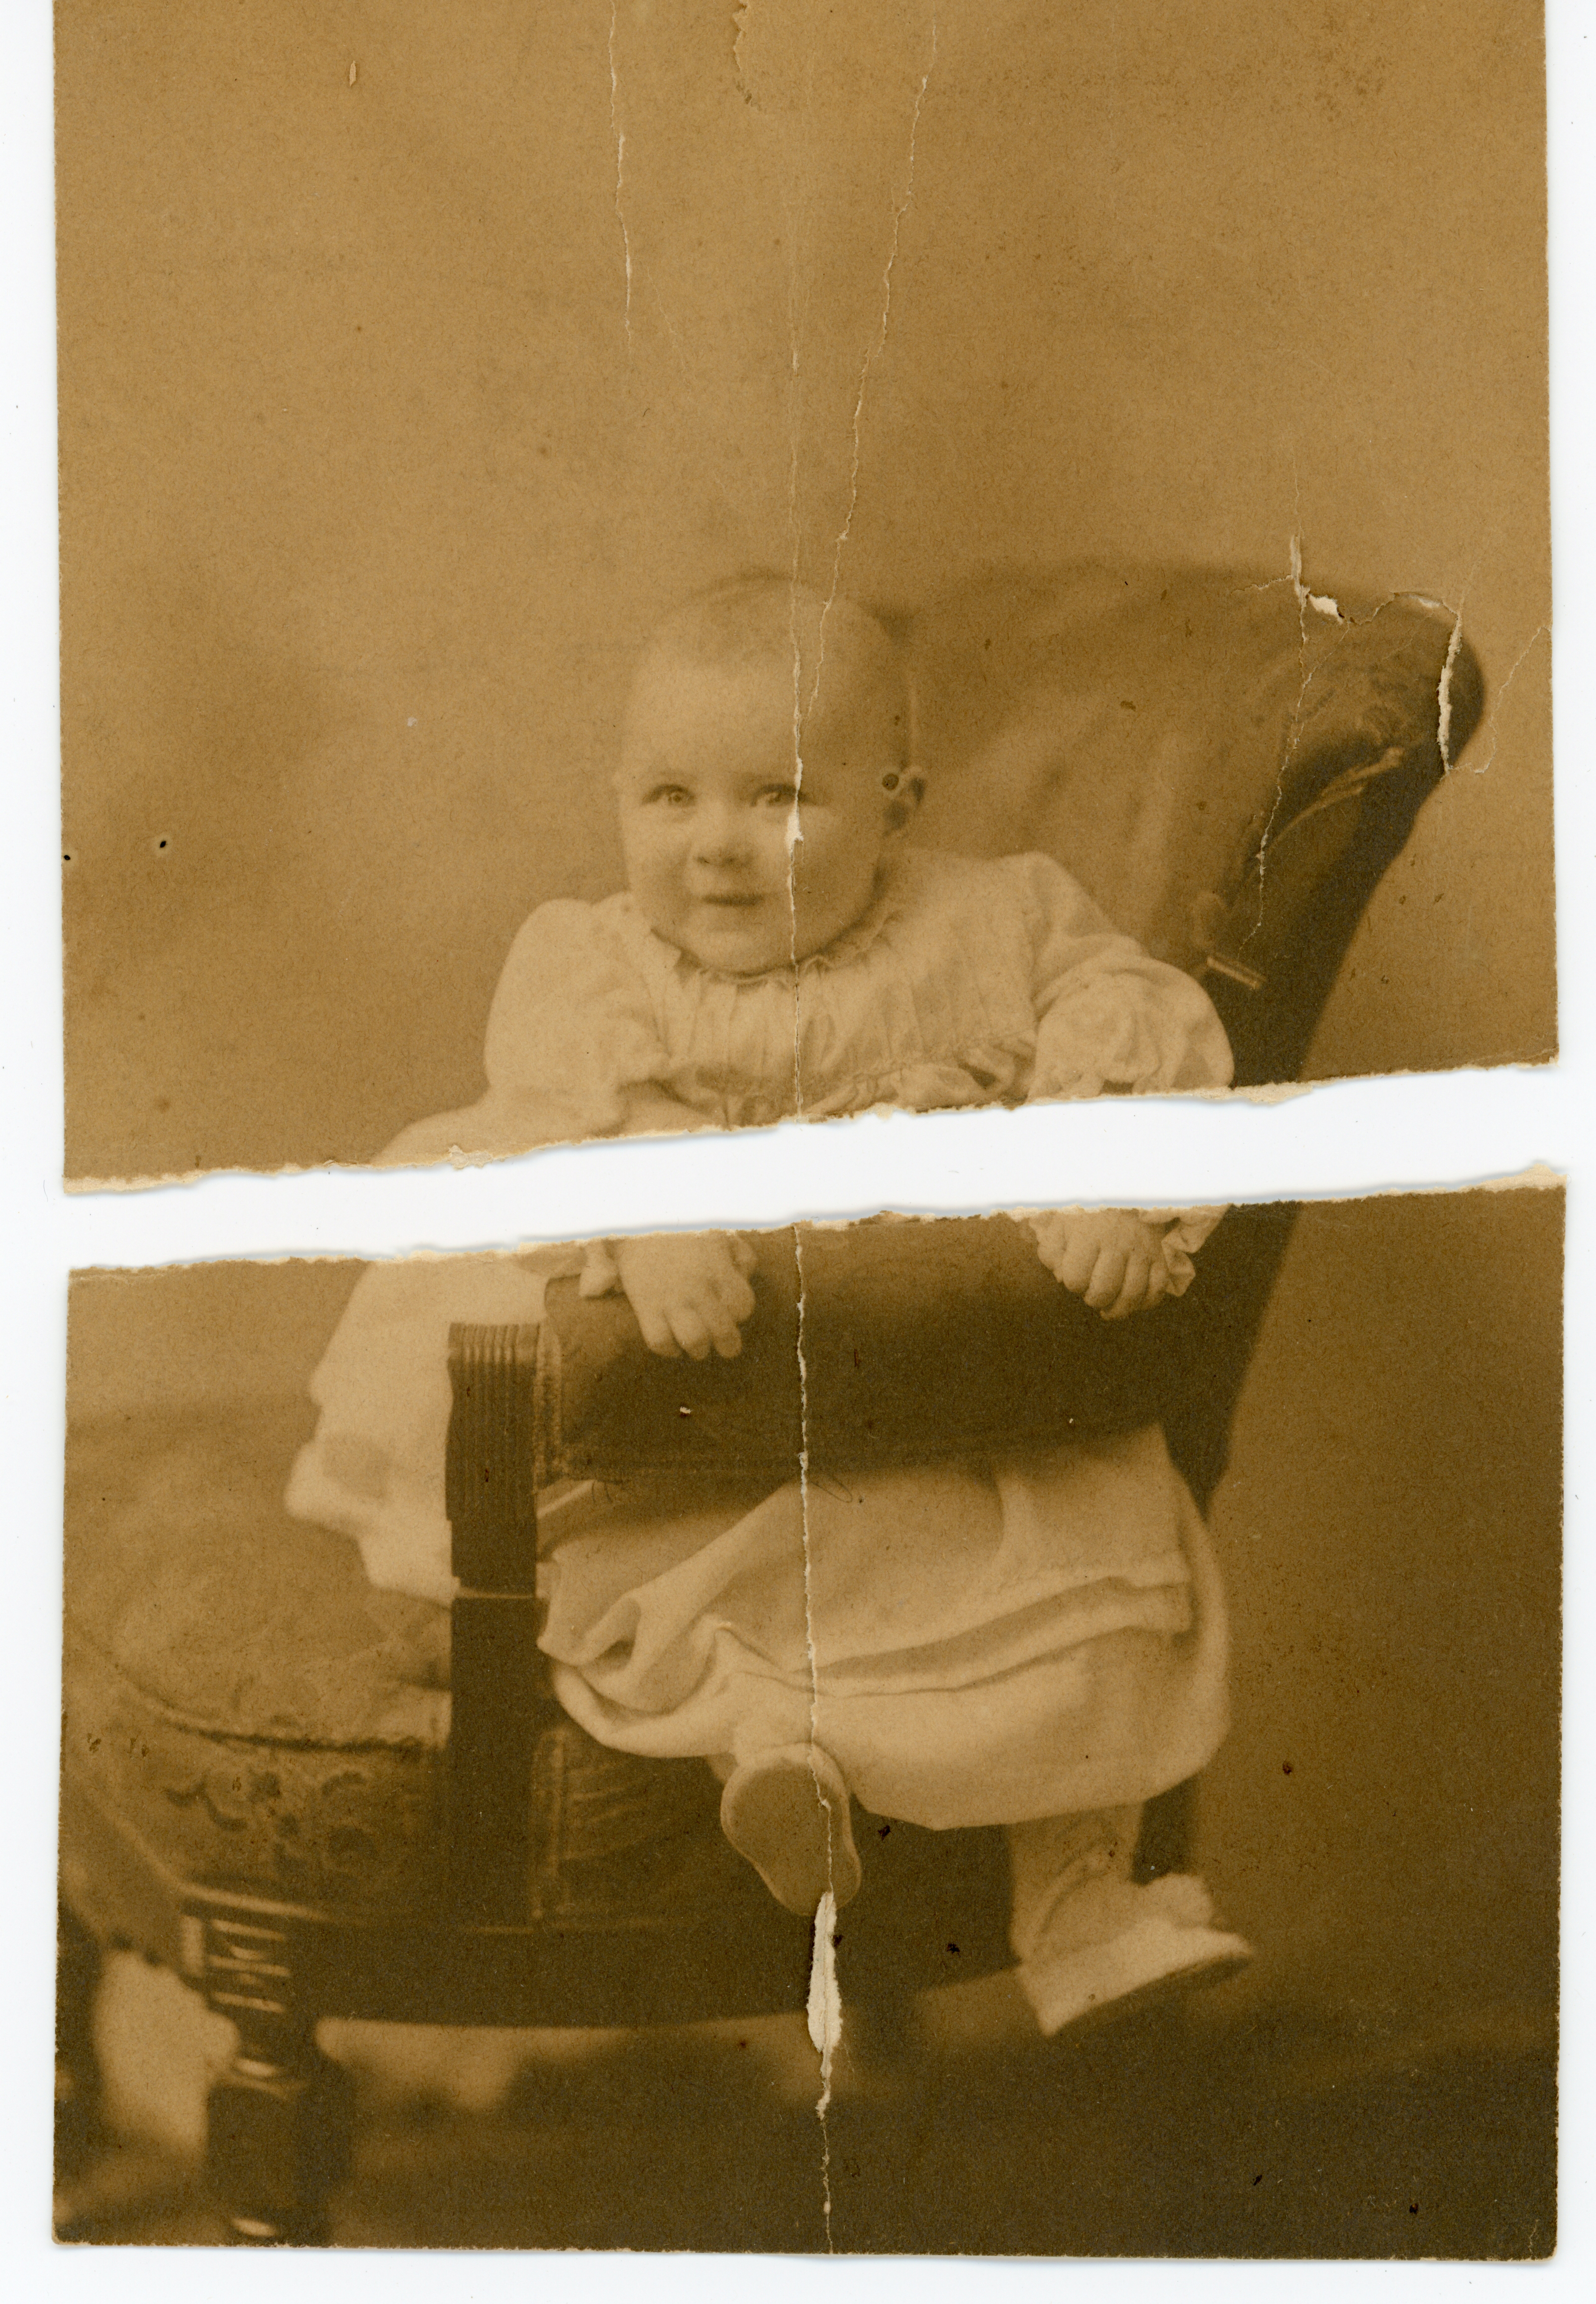
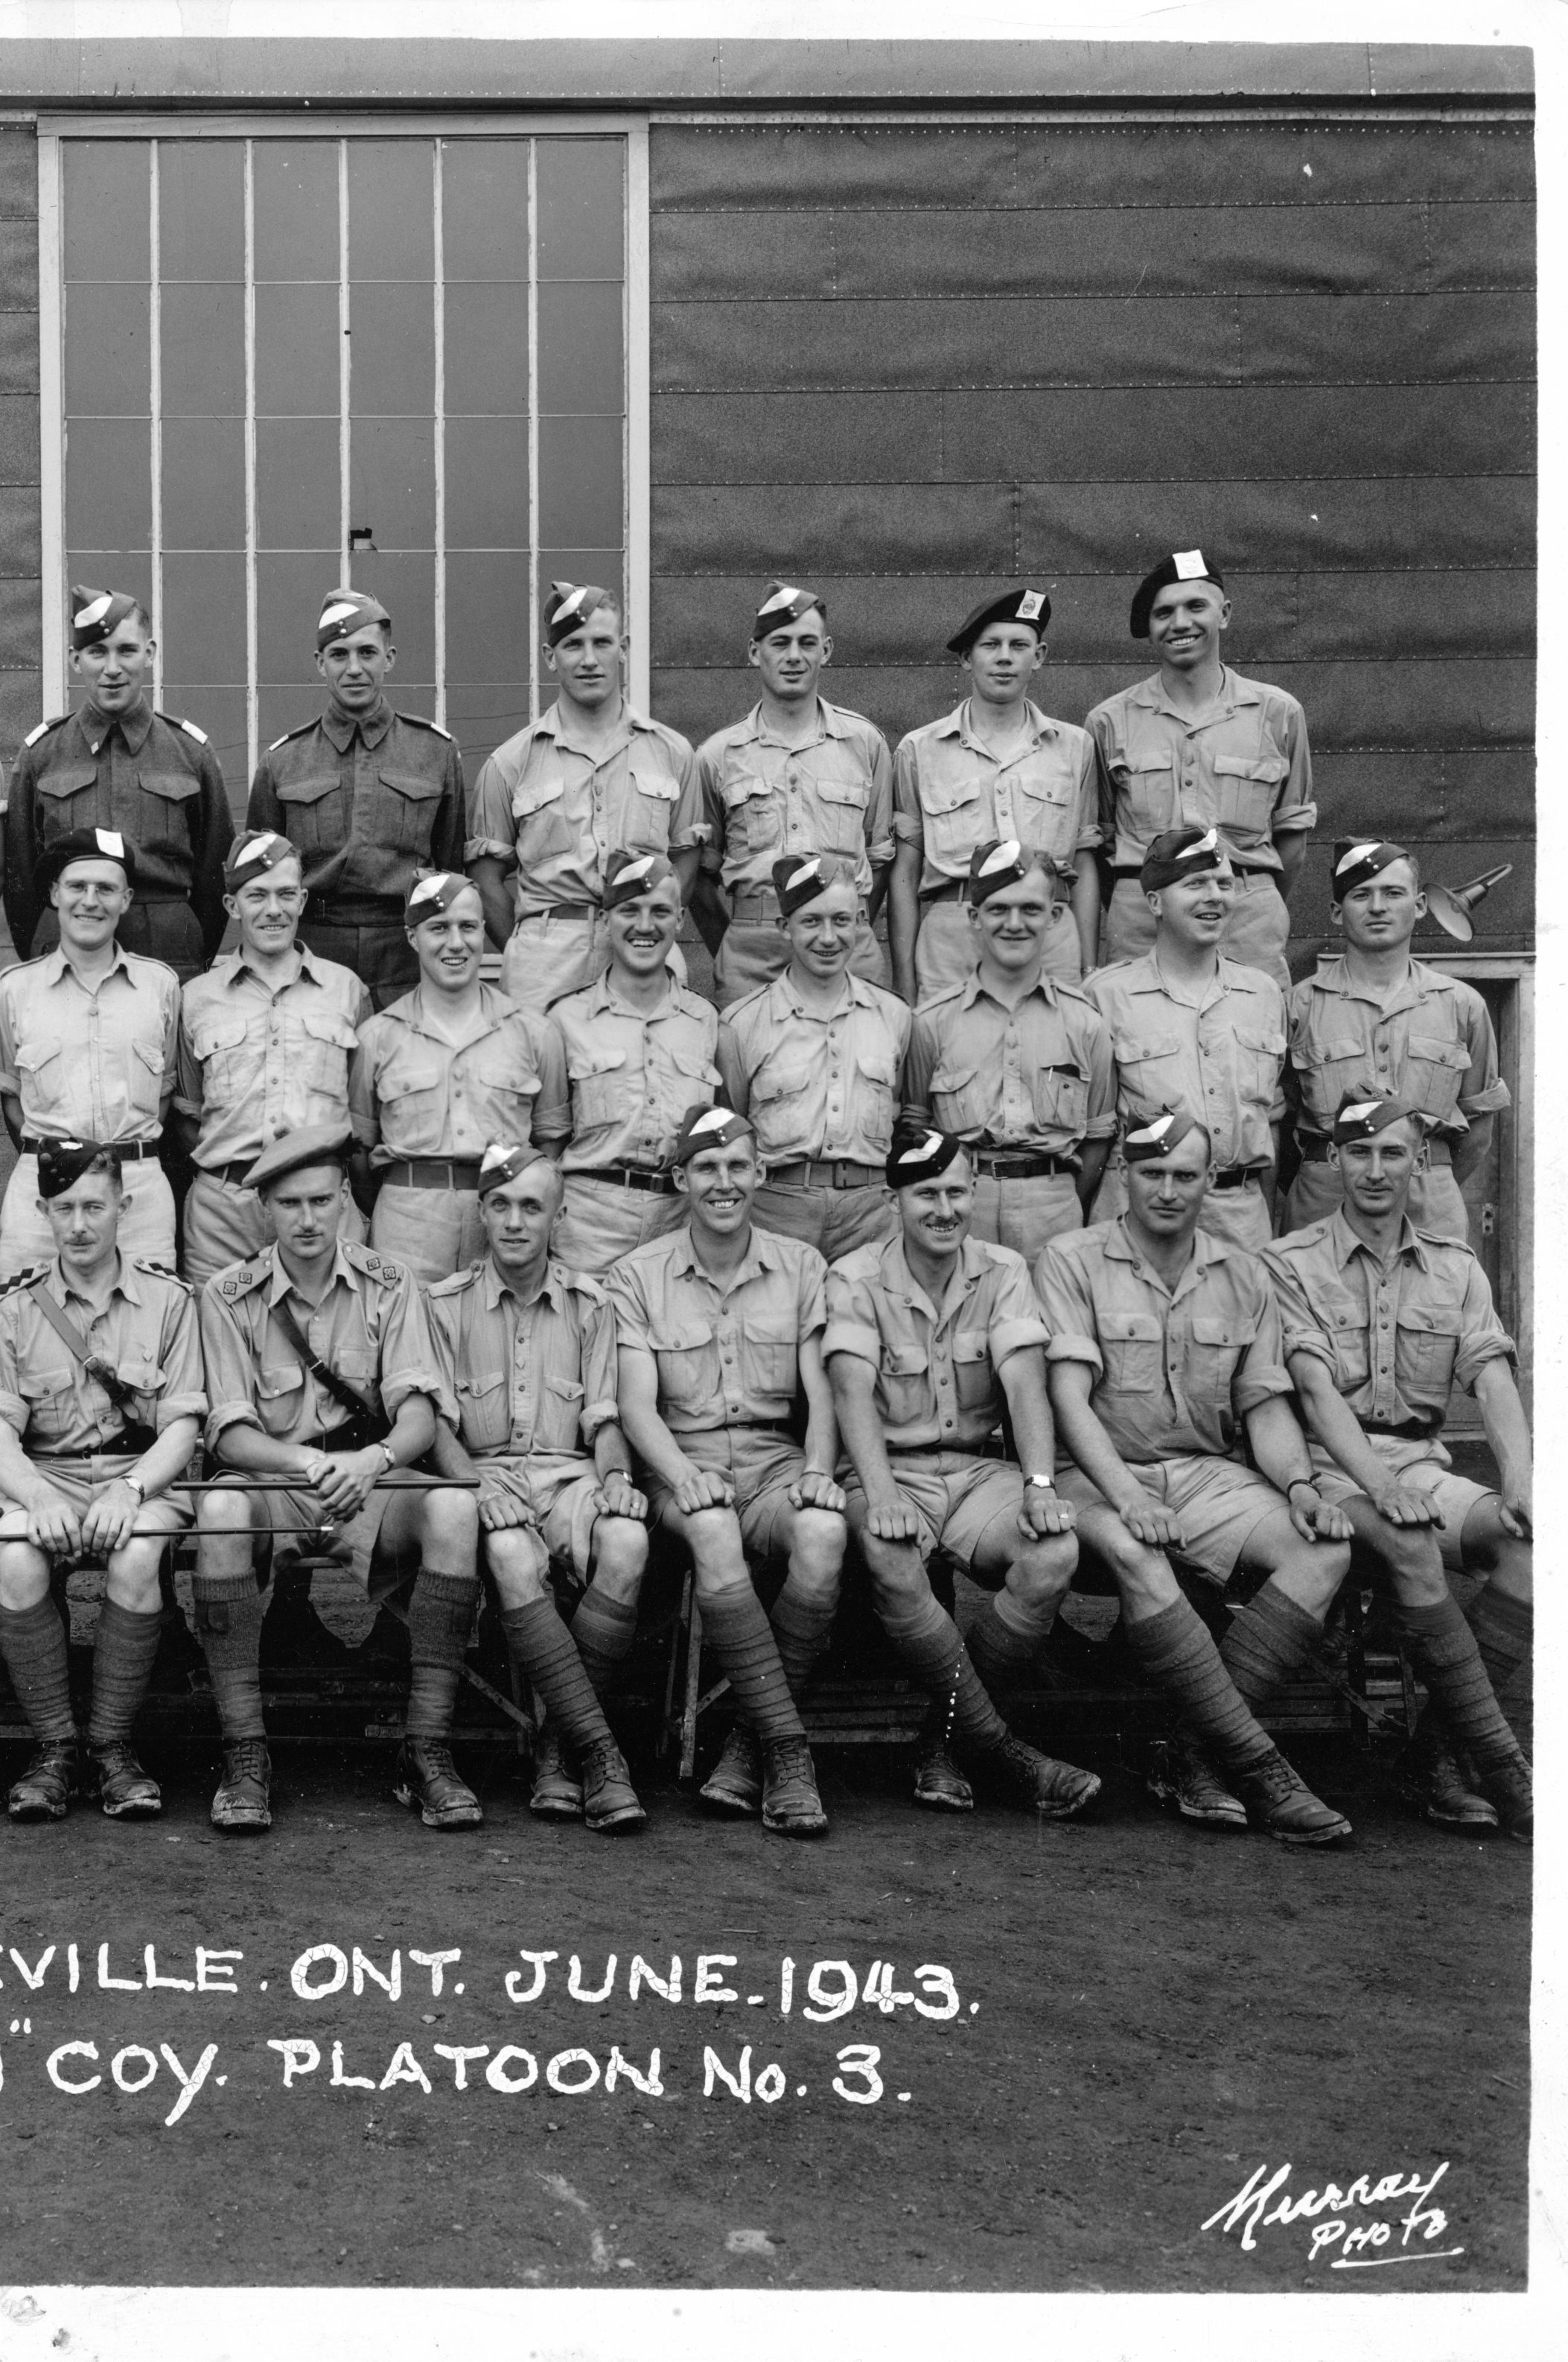
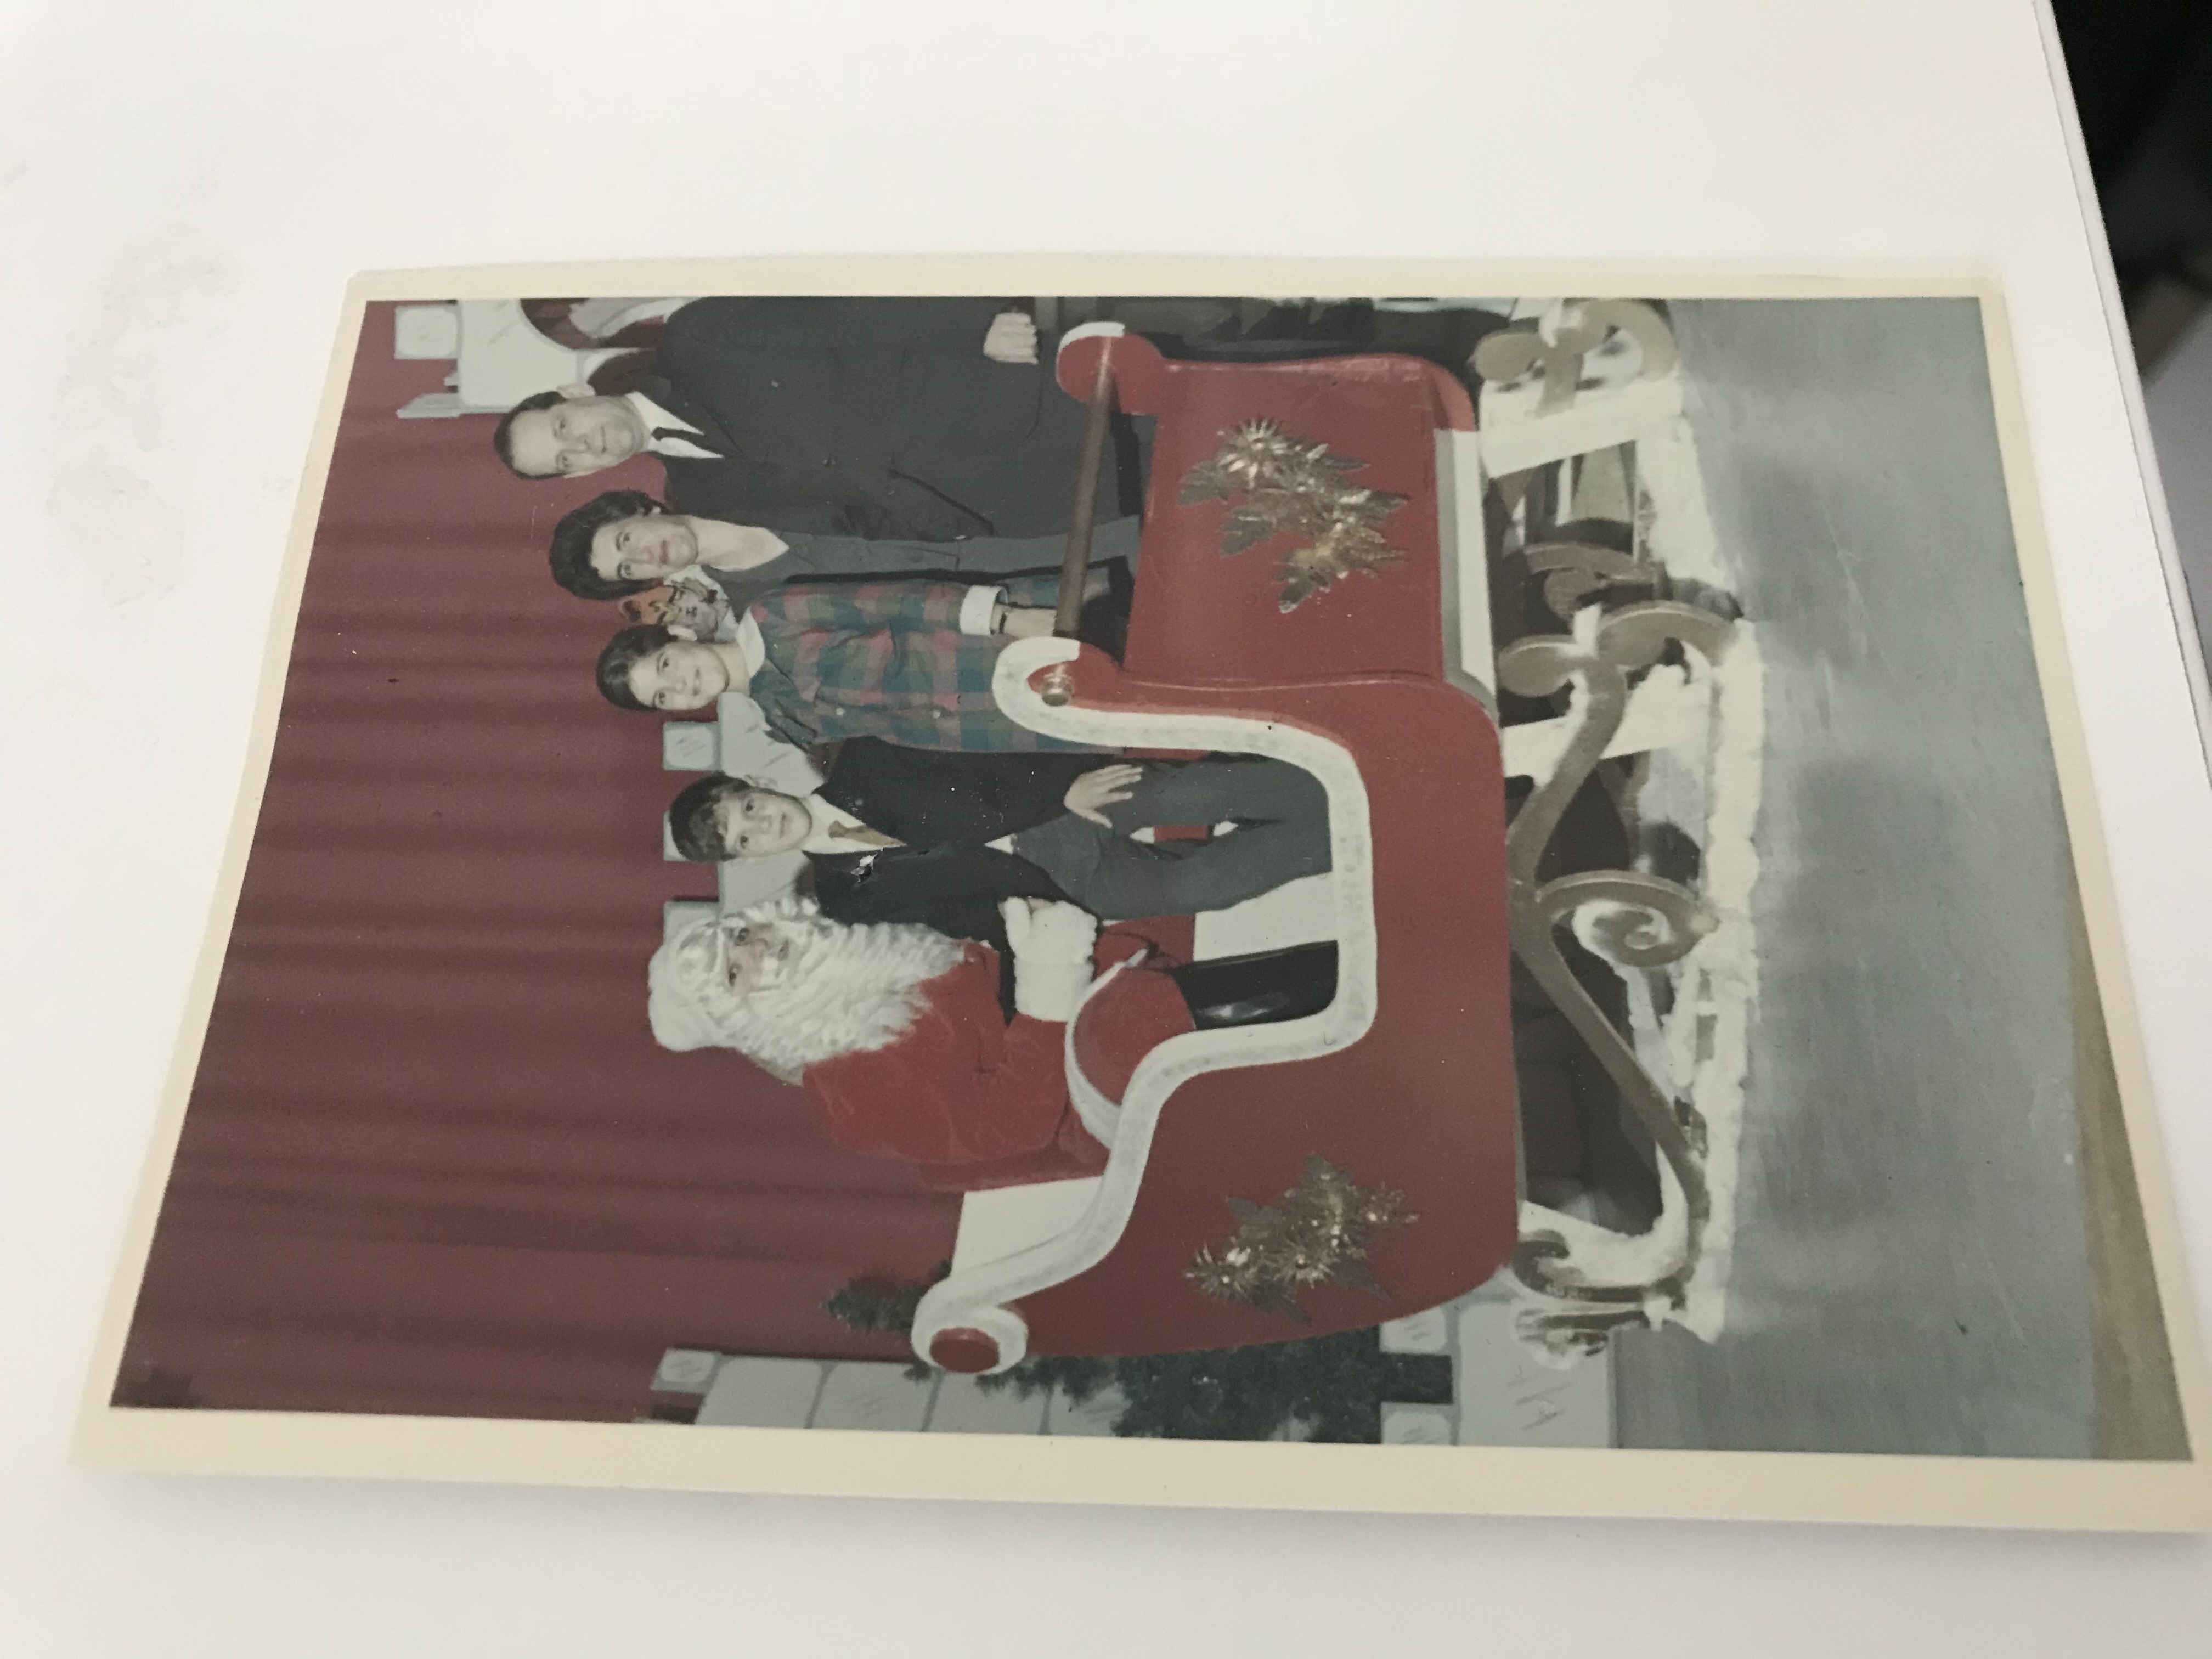
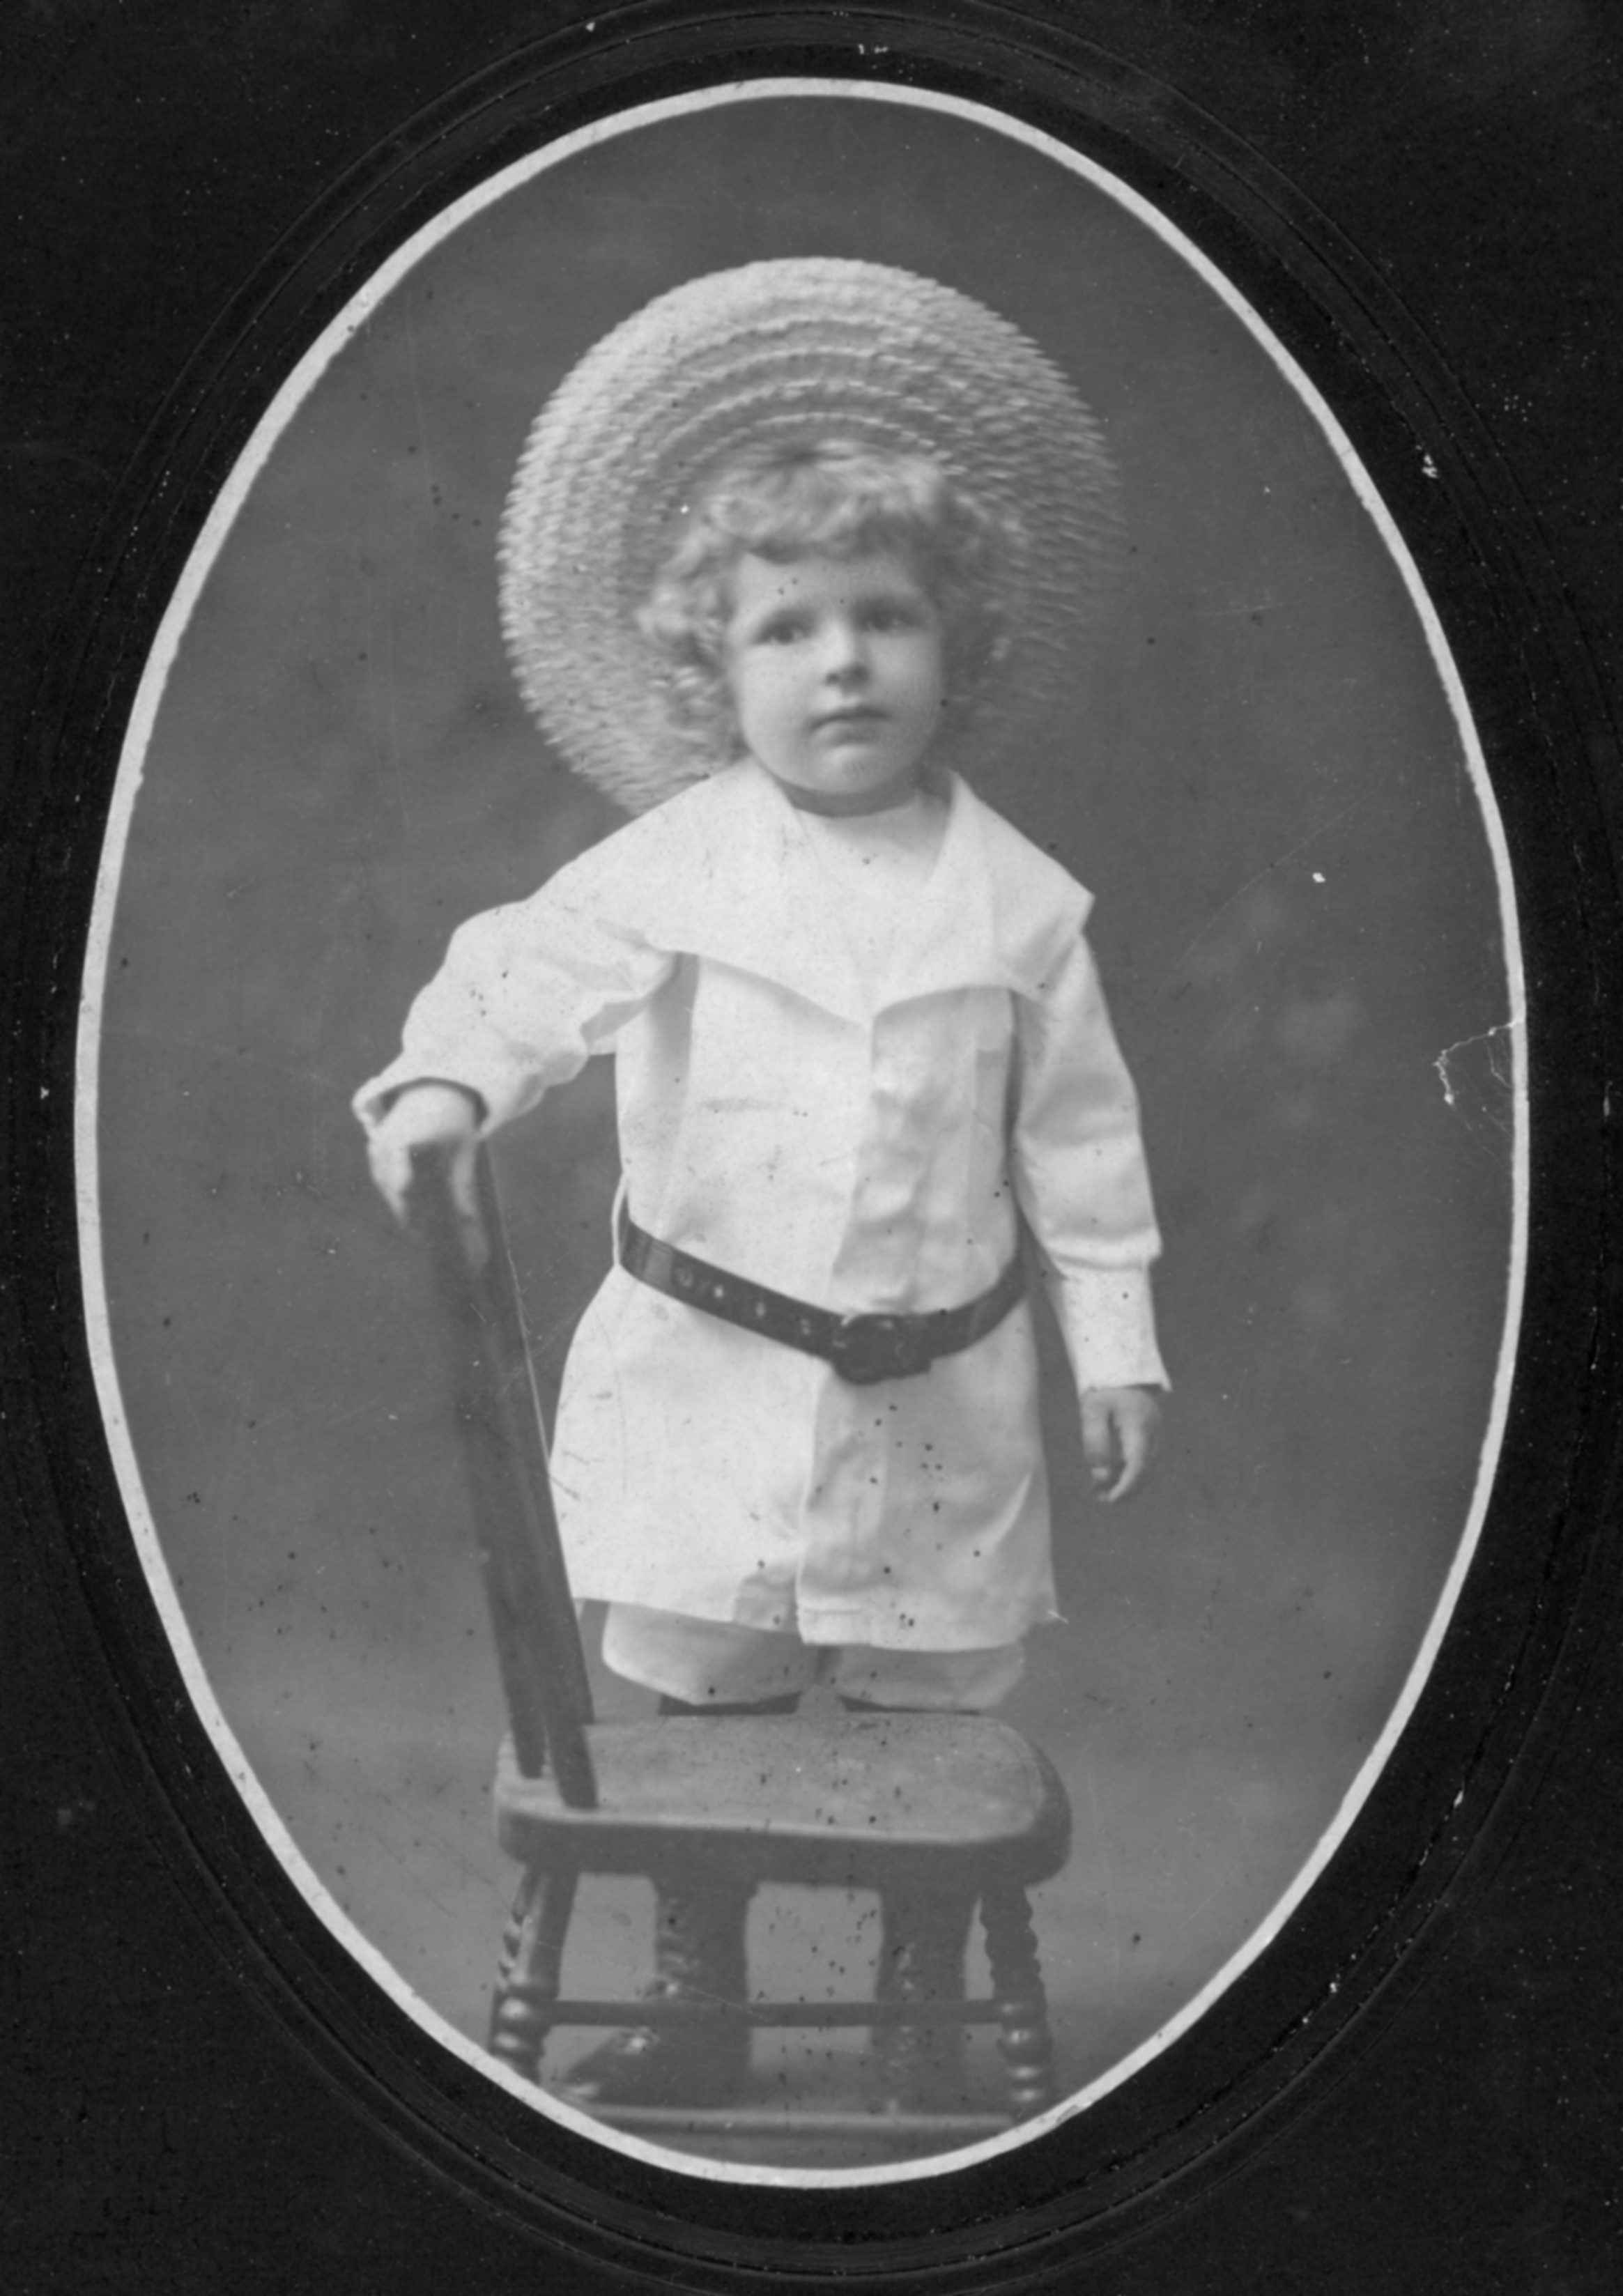
1. Restoring Memories There's nothing quite as rewarding as restoring old family photos. In this class we'll cover a variety of techniques for restoring photographs, including information on capturing the image, and dealing with common problems such as scratches, spots, tearing, faded color, missing pieces and more.
2. You should be doing all of the things shown in this video to the images you found. This means you must have Photoshop open! See the notes and files needed for this session below.
3. When you are done, use the skills you have learned, and restore the old sailor picture provided. Email me your restored image.
Finish your Advanced Photo Composition lesson before moving on.
1. Restoring Memories There's nothing quite as rewarding as restoring old family photos. In this class we'll cover a variety of techniques for restoring photographs, including information on capturing the image, and dealing with common problems such as scratches, spots, tearing, faded color, missing pieces and more.
2. You should be doing all of the things shown in this video to the images you found. This means you must have Photoshop open! See the notes and files needed for this session below.
3. When you are done, use the skills you have learned, and restore the old sailor picture provided. Email me your restored image.
| |||
|
|
| ||||||
|
|
| ||||||
|
|
| ||||
Monday - January 30th
Finish your Textures & Borders lesson before moving on.
1. Advanced Photo Compositing In this session you learn the tips and tricks for making advanced composite images come to life and look realistic:
3. You should be doing all of the things shown in this video to the images you found. This means you must have Photoshop open! See the notes and images needed for this session below.
4. When you are done email me your final image.
Finish your Textures & Borders lesson before moving on.
1. Advanced Photo Compositing In this session you learn the tips and tricks for making advanced composite images come to life and look realistic:
- Cut out your subject
- Place them on a new background
- Fix lighting and color
3. You should be doing all of the things shown in this video to the images you found. This means you must have Photoshop open! See the notes and images needed for this session below.
4. When you are done email me your final image.
| |||
|

|
Week 25: 2/26- 3/1
Wednesday - February 28th
Finish your motivational posters before moving on.
1. Styling a Photo with Textures & Borders In this session, you will discover creative ways to add textures and borders to your images to give your image an artistic effect. You will also learn how to use masking and advanced blending to creatively style your photo composite. You'll see
3. You should be doing all of the things shown in this video to the images you found. This means you must have Photoshop open! See the notes and images needed for this session below.
4. When you are done, email me your 3 projects.
Finish your motivational posters before moving on.
1. Styling a Photo with Textures & Borders In this session, you will discover creative ways to add textures and borders to your images to give your image an artistic effect. You will also learn how to use masking and advanced blending to creatively style your photo composite. You'll see
- How to create or photograph your own textures to use in your images
- Some of the best blending modes to use on your images when blending textures
- How to mask your image with textures and borders to make the effect blend seamlessly with your photos
3. You should be doing all of the things shown in this video to the images you found. This means you must have Photoshop open! See the notes and images needed for this session below.
4. When you are done, email me your 3 projects.
| |||
Week 24: 2/19- 2/23
Friday - February 23rd
1. Shapes & Copy: Introducing Design Elements Into Your Photography There are numerous reasons to add text and shape elements into your photos, especially when you are designing for commercial reasons, but what if you wanted to add these elements for more artistic pursuits than commercial. In this session, we will explore various ways to integrate stylized text elements and abstract shapes into photos to create something with a more personal touch. Think of them as digital props we can manipulate and composite into our image and even make them part of the scene. You will learn:
3. You should be doing all of the things shown in this video to the images you found. This means you must have Photoshop open! See the notes needed for this session below. Using what you have learned, make your very own motivational poster.
4. When you are done, email me your motivational poster.
1. Shapes & Copy: Introducing Design Elements Into Your Photography There are numerous reasons to add text and shape elements into your photos, especially when you are designing for commercial reasons, but what if you wanted to add these elements for more artistic pursuits than commercial. In this session, we will explore various ways to integrate stylized text elements and abstract shapes into photos to create something with a more personal touch. Think of them as digital props we can manipulate and composite into our image and even make them part of the scene. You will learn:
- How to create and import custom shapes
- Compositing shapes with images using lights and shadow effects
- Layer and masking effects for text and shapes• Formatting and reshaping custom text
3. You should be doing all of the things shown in this video to the images you found. This means you must have Photoshop open! See the notes needed for this session below. Using what you have learned, make your very own motivational poster.
4. When you are done, email me your motivational poster.
| |||
Wednesday - February 21st
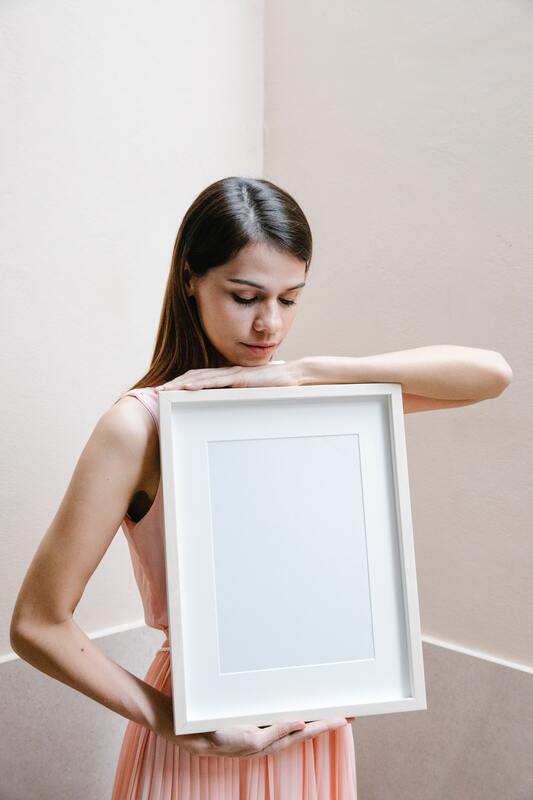
1. Three Photoshop Tools Every Portrait Photographer Needs to Know As a photographer, you'll be asked to take someone's portrait. But do you know the integral tools you will need in order to retouch your subject the right way? Don't get caught in a situation where you have taken the shots but you don't know how to retouch them. In this class, Kristina will take you through her most important tools you need to know how to use when retouching faces, including:
3. You should be doing all of the things she shows you in this video to your own self portrait. This means you must have Photoshop open! See the notes needed for this session below.
4. When you are done, email me the following:
1. Three Photoshop Tools Every Portrait Photographer Needs to Know As a photographer, you'll be asked to take someone's portrait. But do you know the integral tools you will need in order to retouch your subject the right way? Don't get caught in a situation where you have taken the shots but you don't know how to retouch them. In this class, Kristina will take you through her most important tools you need to know how to use when retouching faces, including:
- The right way to remove blemishes and fine lines,
- How to combat under-eye shadows,
- How to effortlessly clean up stray hairs in your shots.
3. You should be doing all of the things she shows you in this video to your own self portrait. This means you must have Photoshop open! See the notes needed for this session below.
4. When you are done, email me the following:
- Original portrait.
- Edited portrait - with all of the adjustments from the video.
| |||
Week 23: 2/12- 2/16
Thursday - February 15th
Finish your double exposure lesson before moving on.
1. In this session, you will learn The UNEQUIVOCAL Power of Blend If, how to use it in various ways in your workflow and will demonstrate how it is so powerful. Once you experience Blend If your life in Photoshop will be FOREVER changed! I promise.
2. You should be doing all of the things he shows you in this video. This means you must have Photoshop open! See the notes and images needed for this session below.
|
| ||||

Week 22: 2/5- 2/9
Friday - January 9th
Finish Sky Replacement before moving on.
1. In this session you will learn how to create a beautiful double-exposure image in Photoshop using masking and blending modes. You will get tips on how to photograph a portrait to work best with this technique, and then you will go into Photoshop to see how to put all the pieces together, resulting in a unique portrait.
2. You should be doing all of the things he shows you in this video. This means you must have Photoshop open! See the notes and images needed for this session below.
3. You will be completing two projects, email me both double exposure projects when complete.
| |||
|
| ||||
|
| ||||
Thursday - January 8th
Finish your selection, and greatest hits before moving on.
1. Today you will Learn Sky Replacements, it's is one of the biggest new features that has ever come to Photoshop. In this class, In this session you take a Deep dive in to the art of replacing the sky. You'll learn what photos work best, how to adjust them, and even how to start making your own sky replacement library.
2. You should be doing all of the things he shows you in this video. This means you must have Photoshop open! See the notes and images needed for this session below.
| |||
Wednesday - January 7th
Finish Mastering Selections first before moving on.
1. Today you will Learn the Greatest Hits of Photoshop. ADJUSTMENT LAYERS / COMPOSITING / CONTENT-AWARE / CROP TOOL / LAYER MASKS / LIQUIFY TOOL / SELECT SUBJECT / SMART OBJECTS / SPOT HEALING BRUSH TOOL. These go-to tools and techniques will make a huge difference in your images.
2. You should be doing all of the things he shows you in this video. This means you must have Photoshop open! See the notes and images needed for this session below.
| |||
|

|
|
|
Monday - February 5th
1. Today we will cover: Mastering Selections. See the notes and images needed for this session below.
2. Use the photo files below as you follow along with the video. You should be doing all of the things he shows you in this video. This means you must have Photoshop open! The notes will also be very helpful!
*You should use headphones while working on this assignment so that you can go through this at your own pace!
| |||


|

|


|
Week 20: 1/22- 1/26
Wednesday - January 24th: (Finish your food truck design before moving on.)
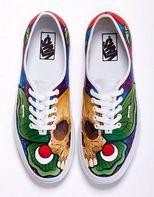
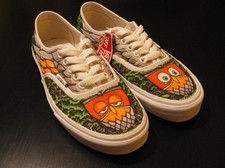
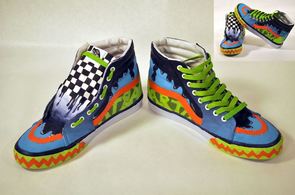
This is meant to be fun and creative! You will be designing 3 different Van's shoe's, The files needed for this are below, along with some fun examples showing my expectations. You will use adobe Illustrator for this project. When done, print and email me your shoes.
This is meant to be fun and creative! You will be designing 3 different Van's shoe's, The files needed for this are below, along with some fun examples showing my expectations. You will use adobe Illustrator for this project. When done, print and email me your shoes.
|
|
| ||||||
|
|
|
Week 18: 1/8- 1/12
Wednesday - January 10th:
Finish your cereal box designs before moving on.
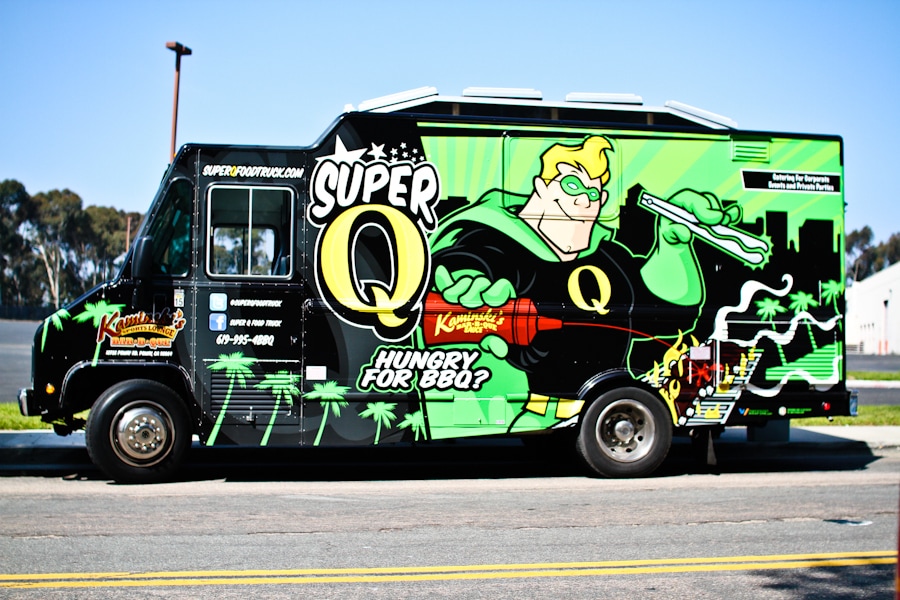
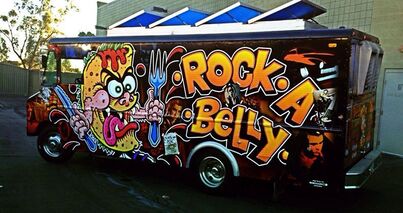
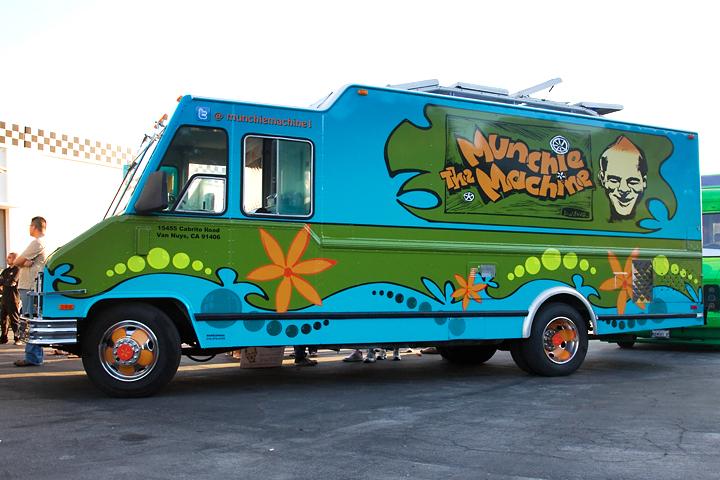
This is meant to be fun and creative! You will be designing a food truck. All sides need to be designed with the same theme, as it should flow around the truck. So figure out your theme before starting. The file needed for this is below, along with some fun examples showing my expectations. You will use Illustrator for this project. When done, print and email me your food truck.
Finish your cereal box designs before moving on.
This is meant to be fun and creative! You will be designing a food truck. All sides need to be designed with the same theme, as it should flow around the truck. So figure out your theme before starting. The file needed for this is below, along with some fun examples showing my expectations. You will use Illustrator for this project. When done, print and email me your food truck.
| foodtruckwraptemplate_studiofluid.ai |
|
|
|
Monday - January 8th
Welcome to second semester. The first thing in the grade book will be your cereal box designs. So pick up where you left off. Let me know when you're ready to print. Remember to email your design when complete.
Welcome to second semester. The first thing in the grade book will be your cereal box designs. So pick up where you left off. Let me know when you're ready to print. Remember to email your design when complete.
| cereal_box_template-big.psd |
Second Semester
Week 16: 12/11- 12/15
Wednesday - December 13th
Finish your pizza box design before moving on.
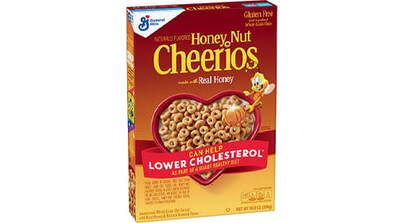
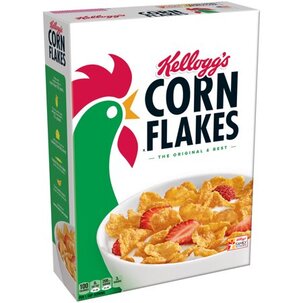
Your next project is to create a cereal box, front, back, top, bottom, and the sides. You will create total of 6 images. This can be a parody if you like, but not required. This needs to look like a real cereal box, so attention to detail is a must. The cereal cannot be a real current cereal, it must be a new type of cereal with a new name. You will need to google some images to get ideas on what the sides, top and bottom look like. For example, one side must include the nutritional information. Have fun! You will use Illustrator for this project. See the template file and examples below.
Finish your pizza box design before moving on.
Your next project is to create a cereal box, front, back, top, bottom, and the sides. You will create total of 6 images. This can be a parody if you like, but not required. This needs to look like a real cereal box, so attention to detail is a must. The cereal cannot be a real current cereal, it must be a new type of cereal with a new name. You will need to google some images to get ideas on what the sides, top and bottom look like. For example, one side must include the nutritional information. Have fun! You will use Illustrator for this project. See the template file and examples below.
| cereal_box_template-big.psd |
|

|
|
Week 15: 12/4- 12/8
Thursday - December 7th
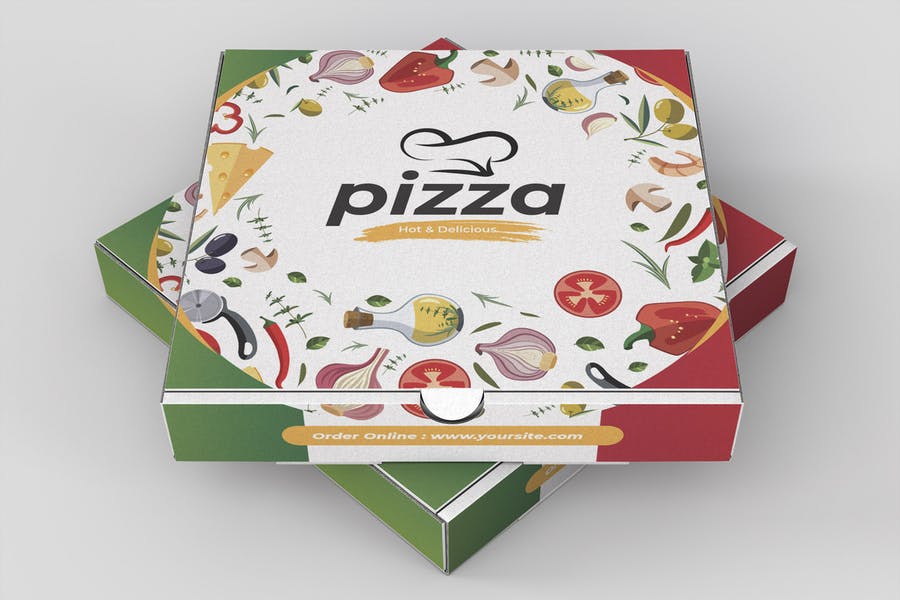
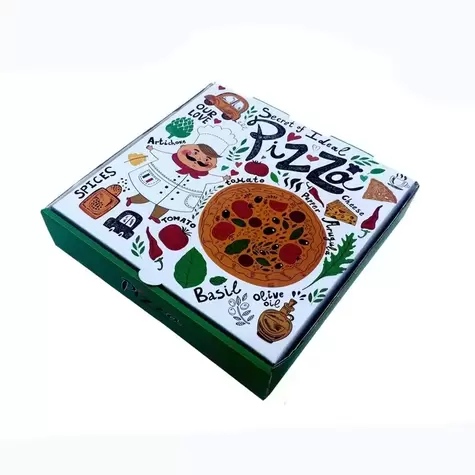
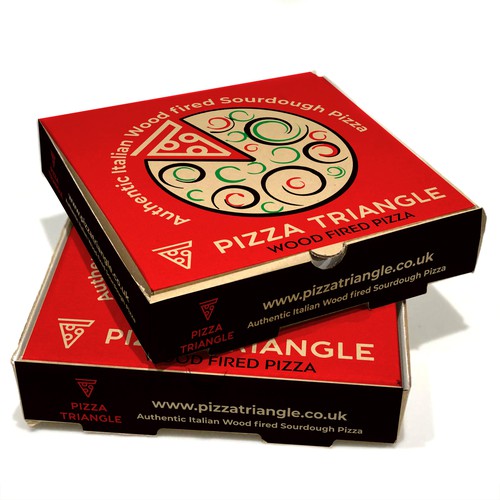
Your next project is to create and design a pizza box. The front, back, top, bottom, and the sides. What is your pizza theme? This can be a parody if you like, but not required. This needs to look like a real pizza box, so attention to detail is a must. The design cannot be a real current pizza chain, it must be a new type of pizza with a new name. You will need to google some images to get ideas on what the sides, top and bottom look like. Have fun! You use Illustrator, for this project. See the template file and examples below.
Your next project is to create and design a pizza box. The front, back, top, bottom, and the sides. What is your pizza theme? This can be a parody if you like, but not required. This needs to look like a real pizza box, so attention to detail is a must. The design cannot be a real current pizza chain, it must be a new type of pizza with a new name. You will need to google some images to get ideas on what the sides, top and bottom look like. Have fun! You use Illustrator, for this project. See the template file and examples below.
| pizza-box-pattern.pdf |
|
|
|
|
Wednesday - December 6th:
Create a Google document, and share it with me: 1. List 20 things you learned about Graphic Design in film from the video. 2. Next, using the link below list and describe the 8 things Graphic Designers need to know for film. 3. Lastly, do a little research and tell me who Annie Atkins is. Describe to me her career, her experience, her work, ect..... |

|
Monday - December 4th:
Create a Google document and follow the instructions below.
Create a Google document and follow the instructions below.
- Research and find 5 famous graphic designers you find interesting. (Sorry, you can't use Aaron Draplin)
- For each designer, you will create 1 paragraph including the information below:
- Designer's name, background and a brief description of who they are and what makes them famous.
- A minimum of 3 examples of their work and 1 picture of them.
- Your 6th paragraph will be a description of which designer is your favorite and why.
Week 14: 11/27- 12/1
Friday - December 1st:
Step 1, for Today's Assignment: Create a Word document, Research Aaron James Draplin the designer, and Answer the questions below.
Step 1, for Today's Assignment: Create a Word document, Research Aaron James Draplin the designer, and Answer the questions below.
- How did he get his start in design?
- Cut and paste 2-3 examples of his work.
- Cut and paste 1 image / example of his 2013 Sasquatch Festival event Graphic.
- When did he create, The Draplin Design Co.?
- Describe what you like or dislike about his work.
- How has he impacted the design industry?
- What are “Field Notes”?
- What is DDC Mission Statement?
- In 2-3 sentences, who is Chuck Anderson, the graphic designer? Include 1 image he has created.
- If you were to interview Aaron Draplin, what 5 questions would you ask him?
| aaron_j._draplin_doc._2.pdf |
Week 12: 11/13- 11/17
Finish your comic art friendship contest design before moving on.
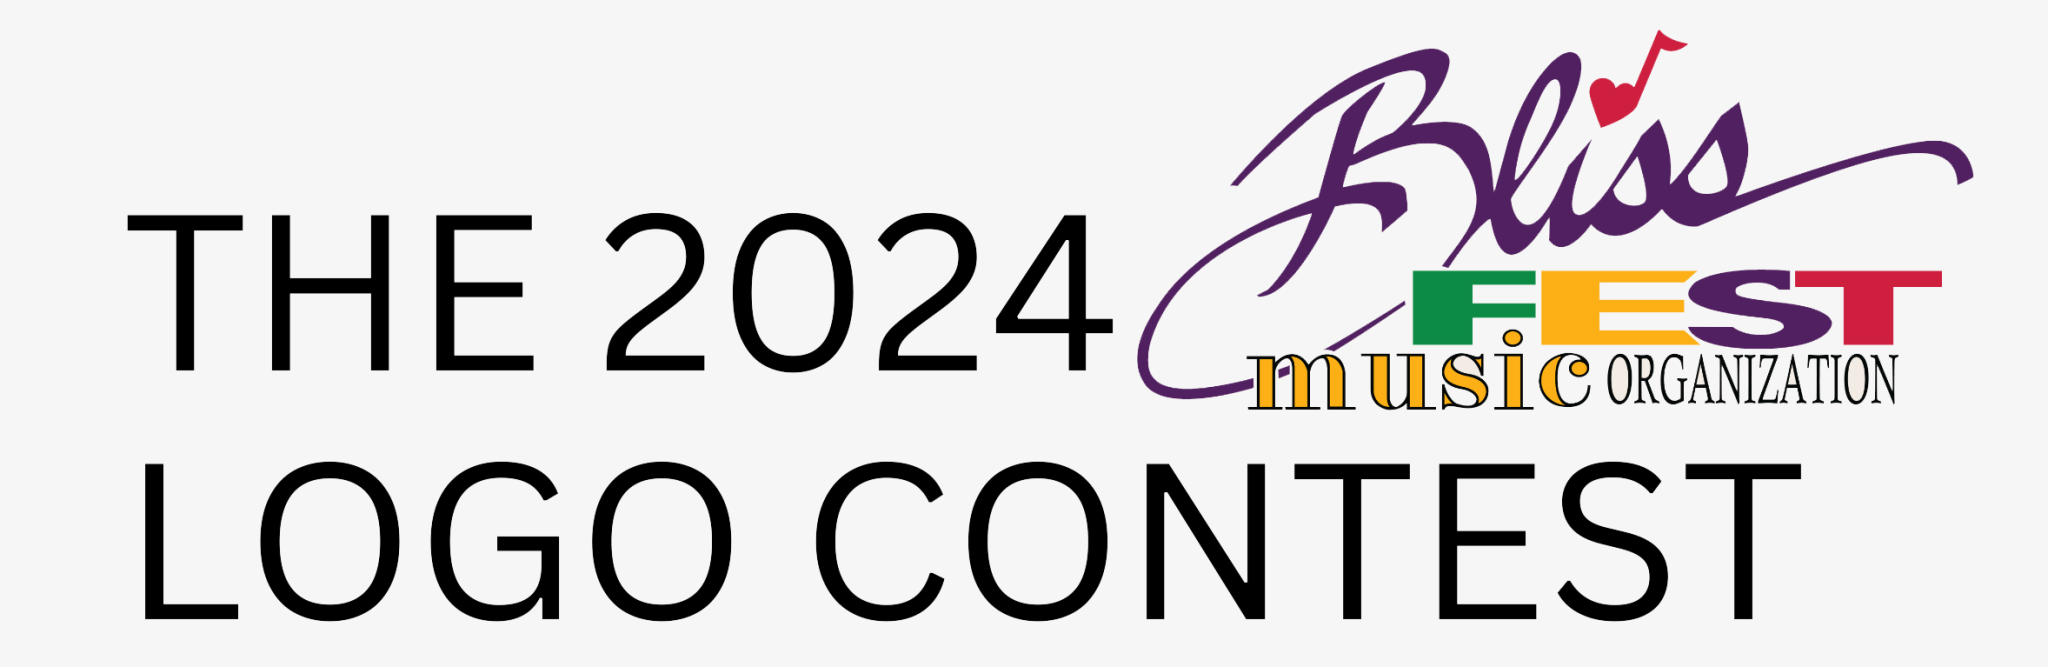
Thursday - November 16th: We are staying in the land of design contests. This is one of my favorites! See the link below to learn about our next design contest. You are responsible to review the rules and regulations to make sure you are not disqualified in anyway. Make sure you research this festival to understand what is about before beginning. You will be designing 3 logos for this contest. Email me your logos when done. Have fun and good luck.
Thursday - November 16th: We are staying in the land of design contests. This is one of my favorites! See the link below to learn about our next design contest. You are responsible to review the rules and regulations to make sure you are not disqualified in anyway. Make sure you research this festival to understand what is about before beginning. You will be designing 3 logos for this contest. Email me your logos when done. Have fun and good luck.
Week 9: 10/23- 10/27
Personal Brand Logo Project
Monday - October 23rd:
We are going to embark on our first major project in Illustrator - Creating your own, personal brand logo. This project will involve research, design, and instruction. The entire project is worth 150 points and will NOT be completed in 1 day. You will be graded on the practice activity, content of your research paper, the sketches and creation of your logo, the written step by step guidelines that you create to teach someone else how to duplicate your logo, and the recreation of your logo from your peer that used your guidelines. You will need to be thorough and specific throughout the entire process in order to be successful on this assignment. I want excellence rather than speed on this project so take your time and show me what you can do! Good luck - I know that we are going to see and learn some amazing things through this project!
:) Some things that you should keep in mind as we begin:
1. This logo should represent who you are as a person.
2. Looking at the completed logo we should have a better understanding of what is important to you.
3. This must be an original design!
Step 1: Practice
1. Watch the video on your own, taking notes as you go. (use headphones)
Have your illustrator open, stop the video as needed.
2. Create the logo that the video teaches you. There are many different steps that you will need to complete in order to recreate the logo from the video.
3. Save as a JPG. Print and submit as part of your project packet.
***I'm including a picture of the final logo that you are creating so that you have some idea of what direction you are heading with this assignment. Some of this is review, but you will learn some valuable techniques in creating a logo.
|
|
| ||
Step 2: Research
Using MLA Format...YES MLA format
You will complete a minimum 2 page research paper regarding copyright infringement. You will answer a series of questions in paper format. This means real paragraphs. A numbered paper with typed out questions and responses will NOT be accepted. You will need to answer the questions in paragraph format as if writing a research paper. The questions are designed to prompt you regarding the objective of the paper. The following question should get you started, but please don't limit yourself to answering just these questions:
- Define copyright infringement to logo designs
- What is not able to be copyrighted in design?
- What does the circled C do for you and do you need to include it on your logo/work?
- What do you need to prove if you want to sue a copycat?
- Whys is logo ownership important?
- Who owns logo design? The client or the designer?
Step 3: Brainstorming
You will sketch ideas for your logo - this should be a hand sketched project, no technology should be used. It may be in pencil, pen or color, but it must be your original sketch. We are going to be using the thumbnail strategy discussed in the video to the right. 16 thumnail sketeches will be required and you will need to follow the 5 steps discussed in the video when creating your thumbnail sketches.
You will sketch ideas for your logo - this should be a hand sketched project, no technology should be used. It may be in pencil, pen or color, but it must be your original sketch. We are going to be using the thumbnail strategy discussed in the video to the right. 16 thumnail sketeches will be required and you will need to follow the 5 steps discussed in the video when creating your thumbnail sketches.
|
|
| ||
Step 4: Creation, Explaination & Recreation
You will design your logo in Illustrator. You will be required to keep a step by step documented record of your logo process. At the end of the project you will give your step by step instructions to a peer and they will have to recreate your logo using only your written instructions. Visual aids will not be allowed. You will submit the logo that your peer created following your step-by-step instructions with the rest of your assignment.
You will design your logo in Illustrator. You will be required to keep a step by step documented record of your logo process. At the end of the project you will give your step by step instructions to a peer and they will have to recreate your logo using only your written instructions. Visual aids will not be allowed. You will submit the logo that your peer created following your step-by-step instructions with the rest of your assignment.
Grading Expectations for Personal Logo Project:
Your project packet must be stapled together and include ALL of the following items:
1. Practice Logo (follow instructions in the video)
2. Research Paper (see general essay rubric below)
3. 16 Sketches (follow the 5 steps discussed in the video)
4. Your personal logo (see illustrator assignment rubric below). You must also email me your logo. Just the logo.
5. Detailed instructions on how to recreate your logo. (be specific)
6. Peer recreation of your logo using your instructions. (the more detailed the instructions the better this will be)
|
| ||||
Week 8: 10/16- 10/20
Tuesday - October 17th:
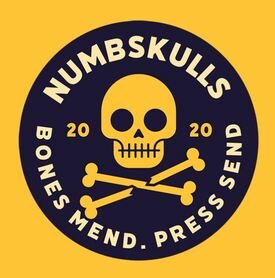
1. Open Adobe Illustrator. Use the link below to design a retro badge logo.
2. You will need headphones, and you will need to stop or even rewind this video as you follow along.
3. When complete, e-mail me your retro logo as an Illustrator file.
1. Open Adobe Illustrator. Use the link below to design a retro badge logo.
2. You will need headphones, and you will need to stop or even rewind this video as you follow along.
3. When complete, e-mail me your retro logo as an Illustrator file.
Monday - October 16th:
Make sure your prior work is done before moving on.
1. Open Adobe Illustrator. Use the link below and follow the instructions to create your very own happy sun.
2. When you have finished, e-mail me your happy sun as an Illustrator file.
Make sure your prior work is done before moving on.
1. Open Adobe Illustrator. Use the link below and follow the instructions to create your very own happy sun.
2. When you have finished, e-mail me your happy sun as an Illustrator file.
Week 7: 10/9- 10/13

Thursday - October 12th
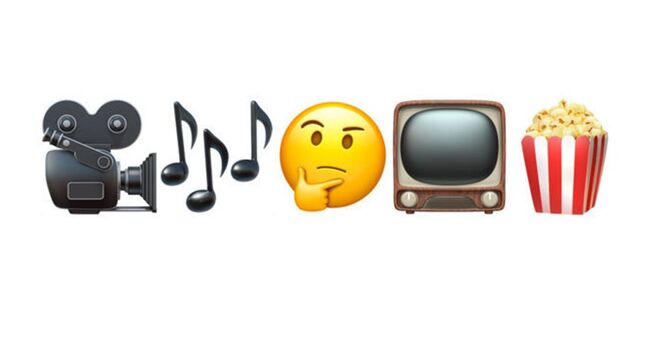
Emoji Challenge Activity
You will create 2 of your your own emoji stories. You will have to create a minimum of 3 emojis for each story, that when put together tells a story or say a phrase. Challenge yourself to include gradients, feathering, or transparency. Your emojis should have lots of different shapes. You CANNOT use an emoji that already exists. Let me be clear - you must DESIGN your own emojis. they can look like a common emoji, but you must create it, not just copy and paste it! Obviously the story or phrase must be school appropriate.
You will be graded on a difficulty rating based on your illustrator technique and attention to detail as well as your creativity. Download the worksheet below and put your emoji's on this document. And don't forget to put what your illustrations means at the bottom.
Once complete, print both of your Emoji stories and turn in.
| emoji_challenge_ex.ai |
Wednesday - October 11th:
Finish your vector portraits before moving on.
1. Open Adobe Illustrator, and use the link below to design a T-shirt.
2. Once you have completed your design, use the file below, and put your design on the t-shirt.
3. Next, change the t-shirt color to anything you think looks nice with your design.
4. Save and e-mail me your final t-shirt file.
5. Have fun! :)
| |||
Week 6: 10/2- 10/6

Week 4: 9/11- 9/15
Monday - September 18th:
1. Make sure your 10 things for Photoshop and Illustrator are done before moving on.
2. I have decided not to do the book work for Illustrator, but to use the tutorials below.
3. Open Illustrator, and follow along in each lesson using the data files below.
4. You will need headphones, and you will be going at your own pace, so make sure to remember what lesson you ended with. Save each lesson, and email to me when complete. You will not finish this in one day.
|
| ||
Week 3: 9/11- 9/15
Tuesday - September 12th:
Begin by downloading the Terry White Photoshop CC video (10 things beginners what to know about Photoshop CC) and complete the following activities:
1. Create a Google Doc titled 10 things about Photoshop CC.
2. Begin watching the video and FOLLOW ALONG (you will need headphones - let me know if you don't have any). You will open Photoshop CC and do the skills that he shows you in the video.
3. In the document you created, you should list the 10 things that Terry discusses and describe them in detail. You should have a minimum of 3 sentences for each item on the list.
4. You will have to stop the video, practice, maybe rewind, and LEARN the skill that he is demonstrating.
5. When you have completed the video tutorial and the document, print the document and submit. Remember to include your name, class hour and the name of the software at the top of the document.
Week 2: 9/5- 9/8
Friday - September 8th:
Begin by downloading the Terry White Illustrator CC video (10 things beginners what to know about Illustrator CC) and complete the following activities:
1. Create a Google Doc titled 10 things about Illustrator CC.
2. Begin watching the video and FOLLOW ALONG (you will need headphones - let me know if you don't have any). You will open Illustrator CC and do the skills that he shows you in the video.
3. In the document you created, you should list the 10 things that Terry discusses and describe them in detail. You should have a minimum of 3 sentences for each item on the list.
4. You will have to stop the video, practice, maybe rewind, and LEARN the skill that he is demonstrating.
5. When you have completed the video tutorial and the document, print the document and submit. Remember to include your name, class hour and the name of the software at the top of the document.
Tuesday - September 5th
Step 1: I want to know who you are as a designer and how you are different from everyone else? Write a Designer's Statement. It should be 1 long paragraph to 1 page long. Read the document below for more guidance. Create your designer statement in a Google document and share it with me.
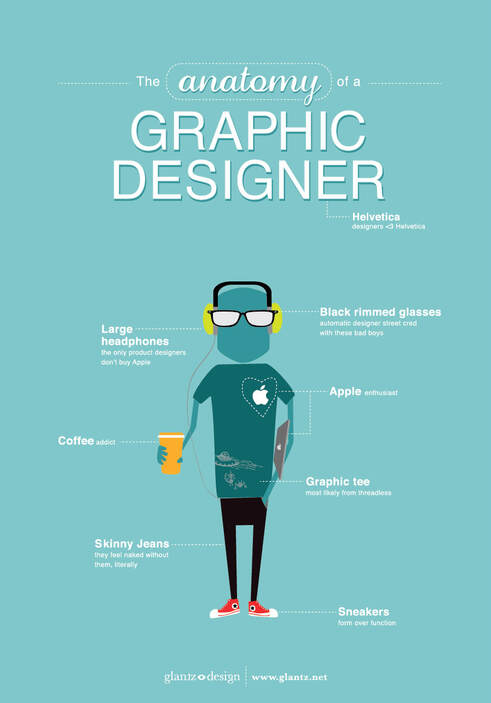
Step 2: Search the web for free graphic design software and create your own "avatar/bitmoji" version of yourself as a graphic designer. Use the image below as a reference. I want to see your design skills. This should represent you how you view yourself, as a designer. I hope to learn a lot about you through this process. Have fun! Email me your final image / design.
Step 3: In the same Google document, describe the software you chose to use. What did you like about it? Was it easy to use? Would you recommend it to the class?
Step 1: I want to know who you are as a designer and how you are different from everyone else? Write a Designer's Statement. It should be 1 long paragraph to 1 page long. Read the document below for more guidance. Create your designer statement in a Google document and share it with me.
Step 2: Search the web for free graphic design software and create your own "avatar/bitmoji" version of yourself as a graphic designer. Use the image below as a reference. I want to see your design skills. This should represent you how you view yourself, as a designer. I hope to learn a lot about you through this process. Have fun! Email me your final image / design.
Step 3: In the same Google document, describe the software you chose to use. What did you like about it? Was it easy to use? Would you recommend it to the class?
|
| ||